Retention Rocket 1.0
Omni-Channel Marketing For Your eCommerce Business
OverviewCopy
Retention Rocket makes retention marketing simpler and more profitable for leading eCommerce retailers.
AuthenticationCopy
When using the Retention Rocket connector, the first thing you will need to do is go to your Tray.io account page, and select the workflow you wish to work on. Once in the workflow dashboard itself, search and drag the Retention Rocket connector from the connectors panel (on the left hand side) onto your workflow.
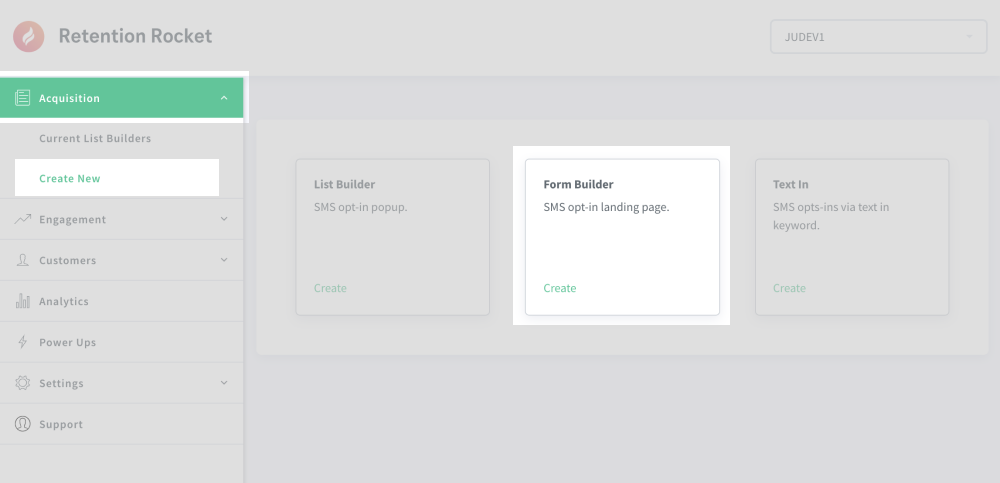
IMPORTANT!: You don't need to authenticate yourself to use the Retention Rocket connector,but you will need to create a Form Builder campaign in your Retention Rocket admin.
Once signed into your Retention Rocket account, click on the "Create new" option within "Acquisition" drop-down menu, and choose "Form Builder" from the dashboard options.

Many of the options will be pre-filled for you, so you can either use the test data given or update as pre your preference. Once you have created your Form builder campaign, click the "Save Campaign" button at the bottom of the page followed by the new "Done" option.
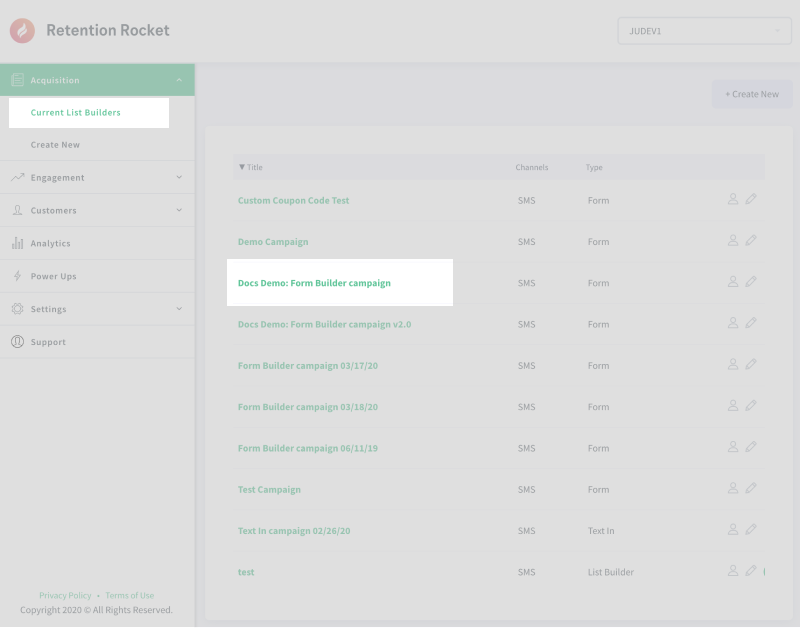
Now you can see the name of your campaign in "Current List Builders".

Available OperationsCopy
The examples below show one or two of the available connector operations in use.
Please see the Full Operations Reference at the end of this page for details on all available operations for this connector.
Example usageCopy
TRAY POTENTIAL: Tray.io is extremely flexible. By design there is no fixed way of working with it - you can pull whatever data you need from other services and work with it using our core and helper connectors. This demo which follows shows only one possible way of working with Tray.io and the Retention Rocket connector. Once you've finished working through this example please see our Introduction to working with data and jsonpaths page and Data Guide for more details.
Below is an example of a way in which you could potentially use the Retention Rocket connector, to submit a form.
The steps will be as follows:
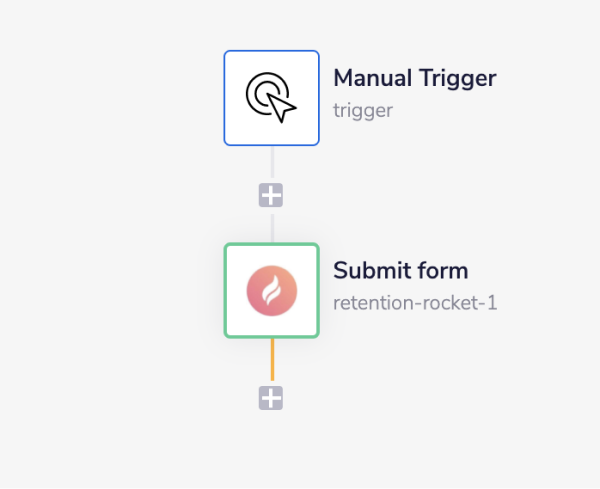
Setup trigger and your Retention Rocket connector
The final outcome should look like this:

1 - Setup trigger & Submit formCopy
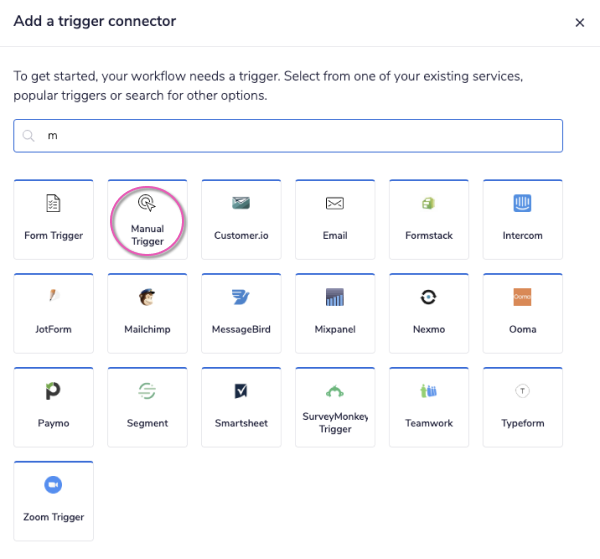
Once you have clicked 'Create new workflow' on your main Tray.io dashboard (and named said new workflow), select the Manual trigger from the trigger options available:

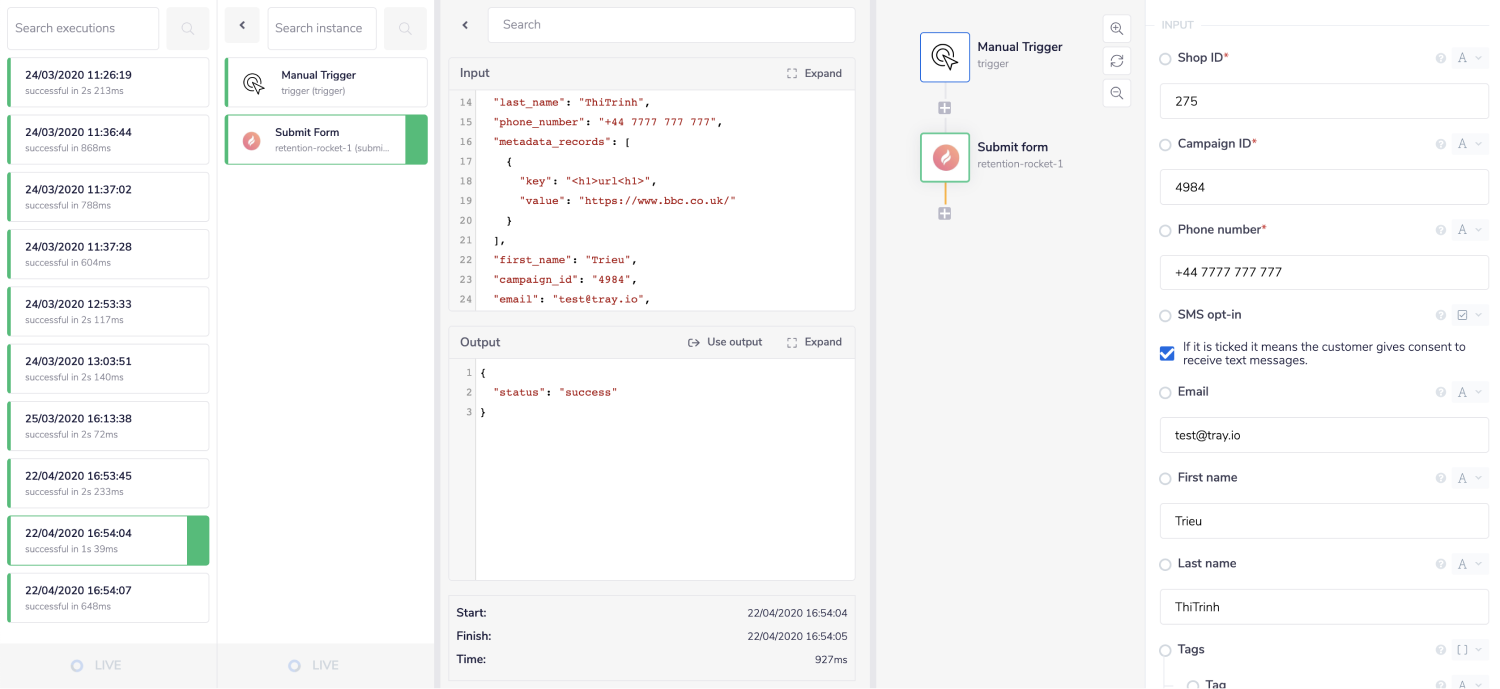
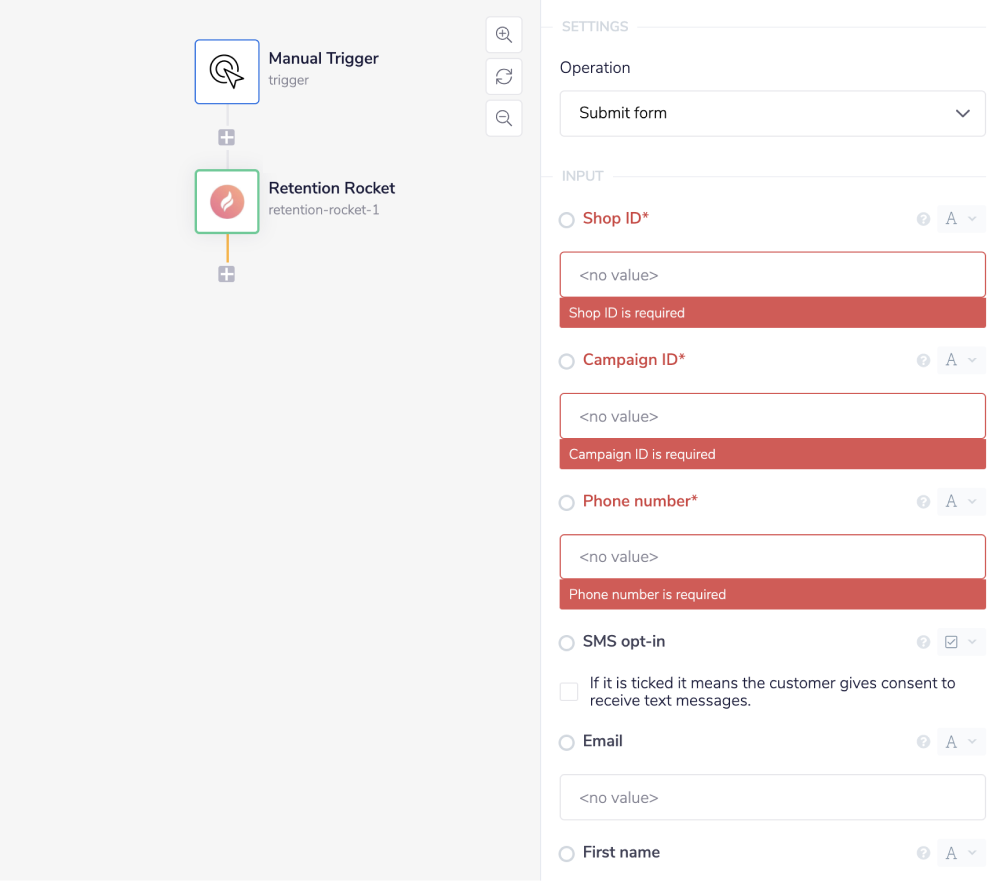
Once you have been redirected to the Tray.io workflow dashboard, from the connectors panel on the left, add a Retention Rocket connector to your second step. Set the operation to 'Submit form'.
There are three mandatory fields, while using this operation which are 'Shop ID', 'Campaign ID' and 'Phone number'.
You will notice that there are a lot of additional configuration options that you can set on this operation ('SMS opt-in', 'First name', 'Last name', 'Tags' and 'Metadata records'). While none of these is mandatory, please feel free to add as appropriate for your particular project needs.

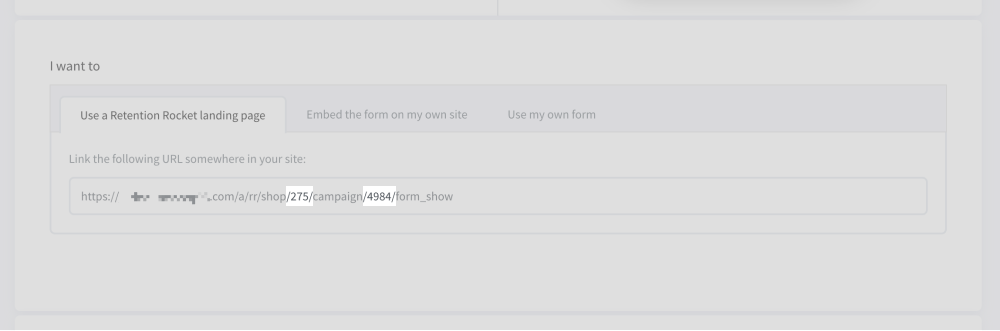
The first two can be found within your campaign details page. Click on your campaign and scroll down to the bottom of the page to find your shop_id and campaign_id written within the URL displayed:

Once the workflow is set up, click the green 'Run Workflow' button at the bottom of the builder, and then check in the Debug panels to look through your Input and Output data to view a successful run of your workflow.