Intro to data mapping
In Tray.io it is possible to set up data mapping scripts to map a record from one service to another.
A common use case for data mapping is to automate the creation of records in two services. For example you may wish to automatically create an account in Hubspot which is pulled in from an 'original' account in Salesforce. Or you may want to automatically create an account in Salesforce which is pulled in from an 'original' account in Stripe.
This is done by making a Script connector-based workflow which maps the fields in the original service to the correct fields in the destination service (e.g. 'BillingCity' in Salesforce maps to 'city' in Hubspot while 'Phone' in Salesforce maps to 'phone' in Hubspot).
In your Embedded solutions you may want to go a step further and allow your End Users to set up their own field mappings according to their particular needs. This page will take you through the steps involved in setting this up for your End Users.
PLEASE NOTE: Some investigation may be required to find out the exact fields required. This can be done using the output of connector operations, as explained in our Hardcoded example
What is a field list?Copy
When your users create Data Mappings they need to choose which field they want to map from in Service A and which field to map to in service B.
In order to do this, when they are using the Config Wizard they must be presented with a list of fields from each service. This is what we call a Field List.
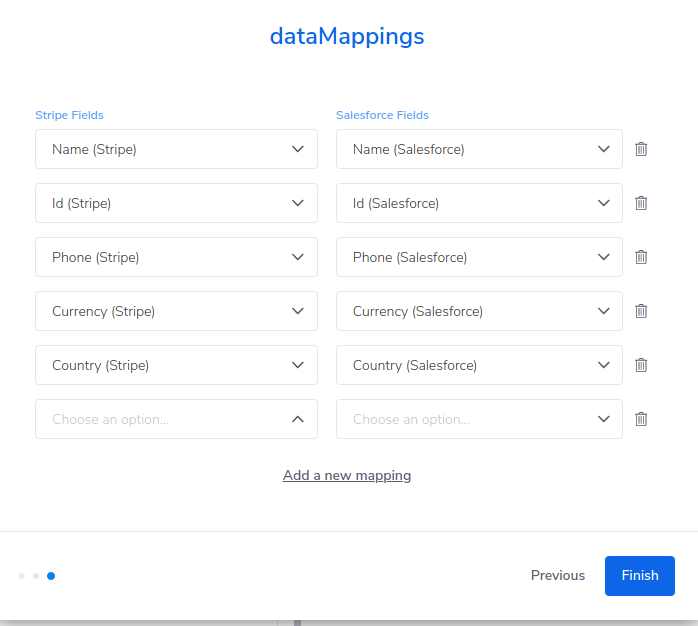
The following is an example Field List which you could present to your End Users for configuration in the Config Wizard:

Setting up data mapping for your SolutionsCopy
There are 4 main steps involved in creating a data mapping solution:
1. Create a source workflow with the relevant services and operations.
2. Add a config slot of 'object' type in the workflow with default 'Mapping' project config.


3. Run some test data through your source workflow.
4. Turn this workflow into a solution.
5. Go to the solution editor and check the box to 'Use data mapping' on the mapping config slot.


6. Edit the value and chose any one of the desired mapping methods (listed below).

You could hardcode the mapping schema (not so common) or make the solution flexible by allowing end users to configure this.
Mapping methodsCopy
When setting up data mapping in the Solution Editor, you have a number of methods to choose from (please see the left-hand menu for examples of implementing each method):
Tray Partner defined schemaCopy
1. Hardcoded listCopy
You will often need to use this method, as the input and output schema of a connector may not return the data you need (most commonly because the data you want to map is nested e.g. 'country' is nested within 'address')
This will require using test runs of the operation you wish to use in order to find out what the exact format of the fields are.
This should only be used if your use case doesn't require the end users to provide mapping.


End User-defined schemaCopy
1. Hardcoded list + Allow Custom ValuesCopy
There may be some cases where is too restrictive for your End Users to only be able to choose from a list of fields that has been pre-configured for them.
So you can tick the 'Allow custom values' box to allow your End Users to specify their own list of available fields.

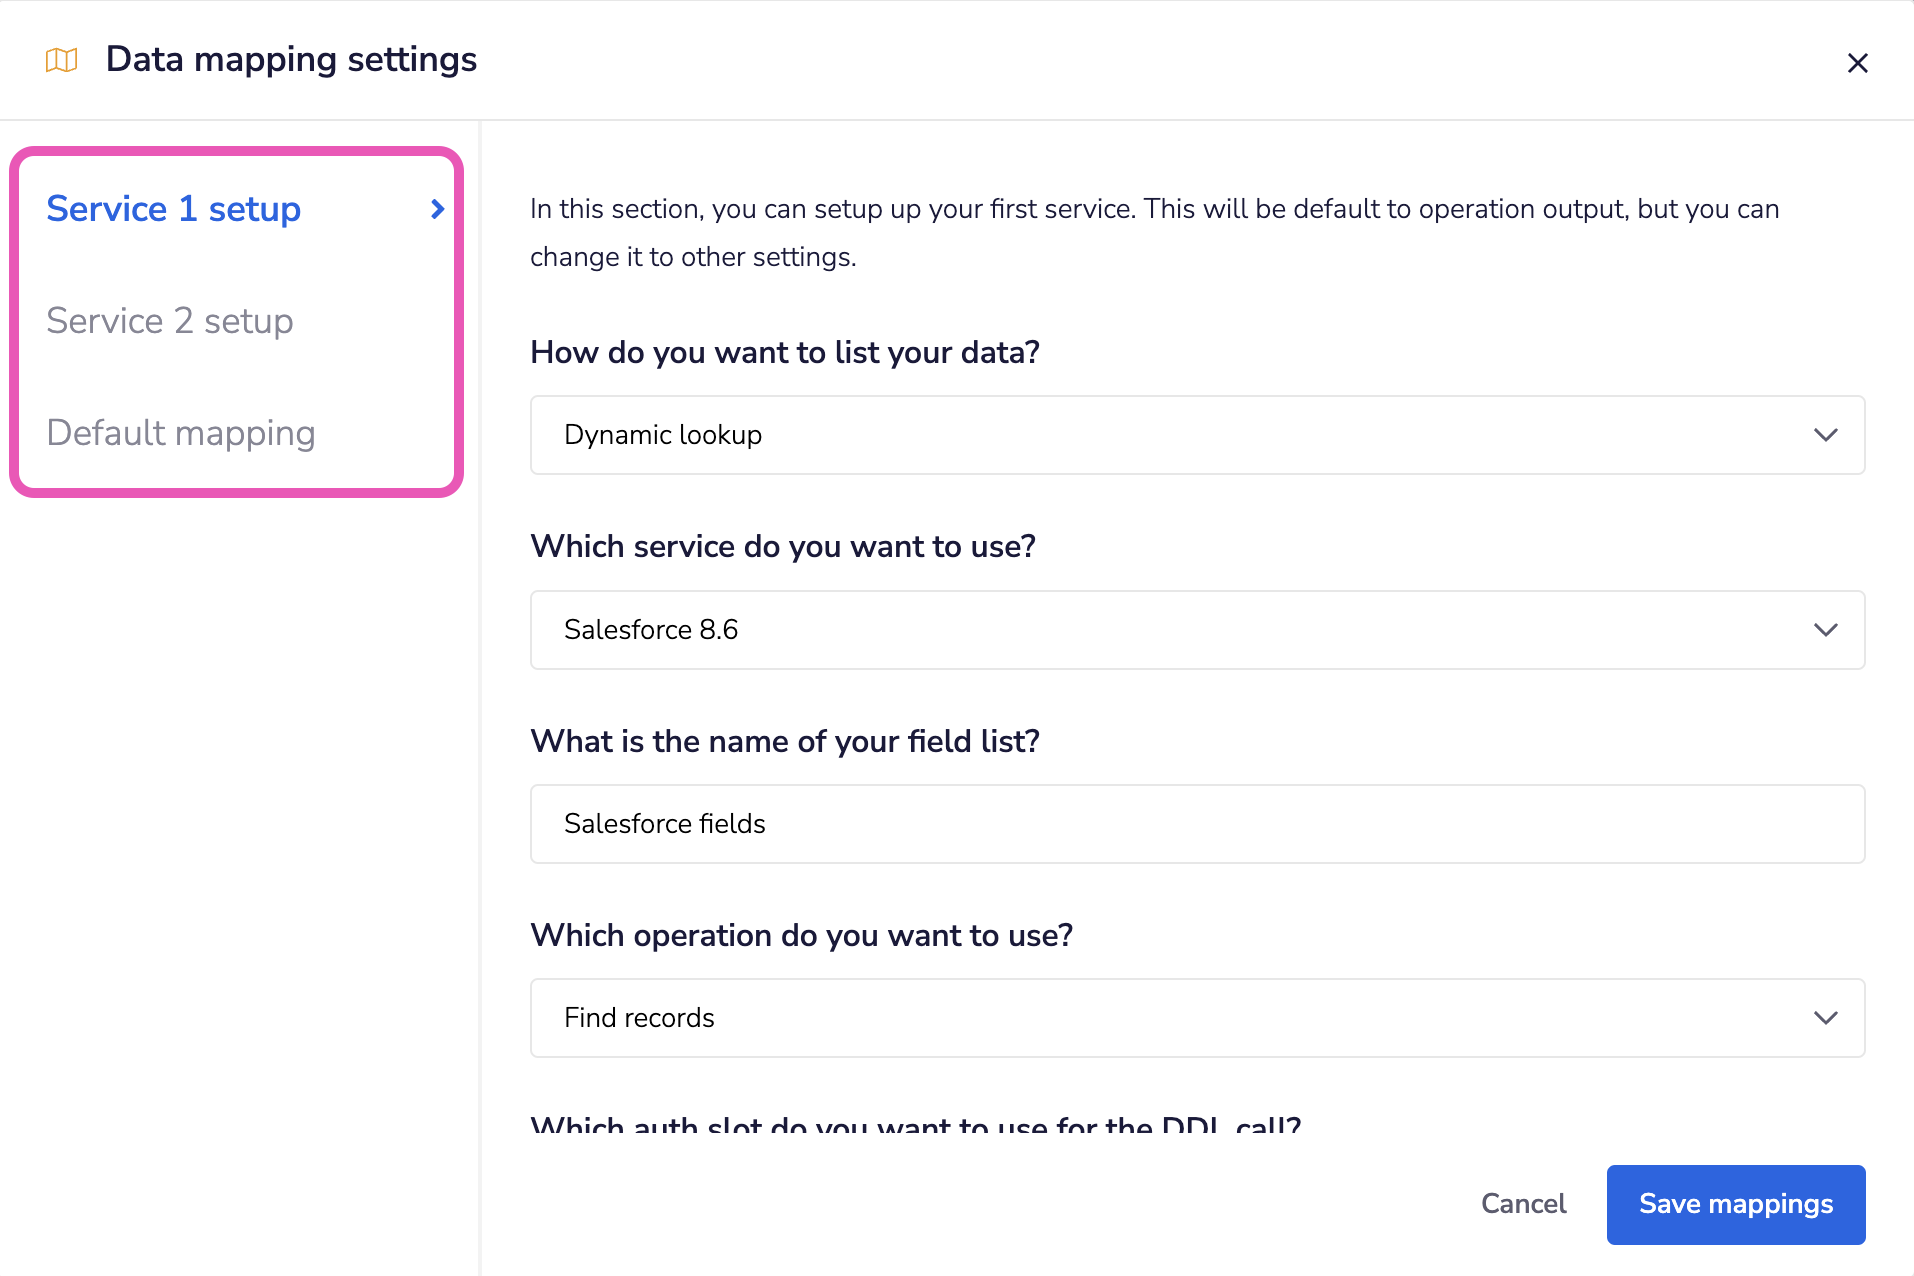
2. Using input and output schemaCopy
In this case a drop-down will automatically pick up field names from the Tray platform connector).
You might use this when you want to grab the output from a Find Record operation. Or if you want to grab the output from a Create Record operation to generate the fields to map from.
Note that this might not get all the fields you need (if the fields are nested) so you may have to hardcode.
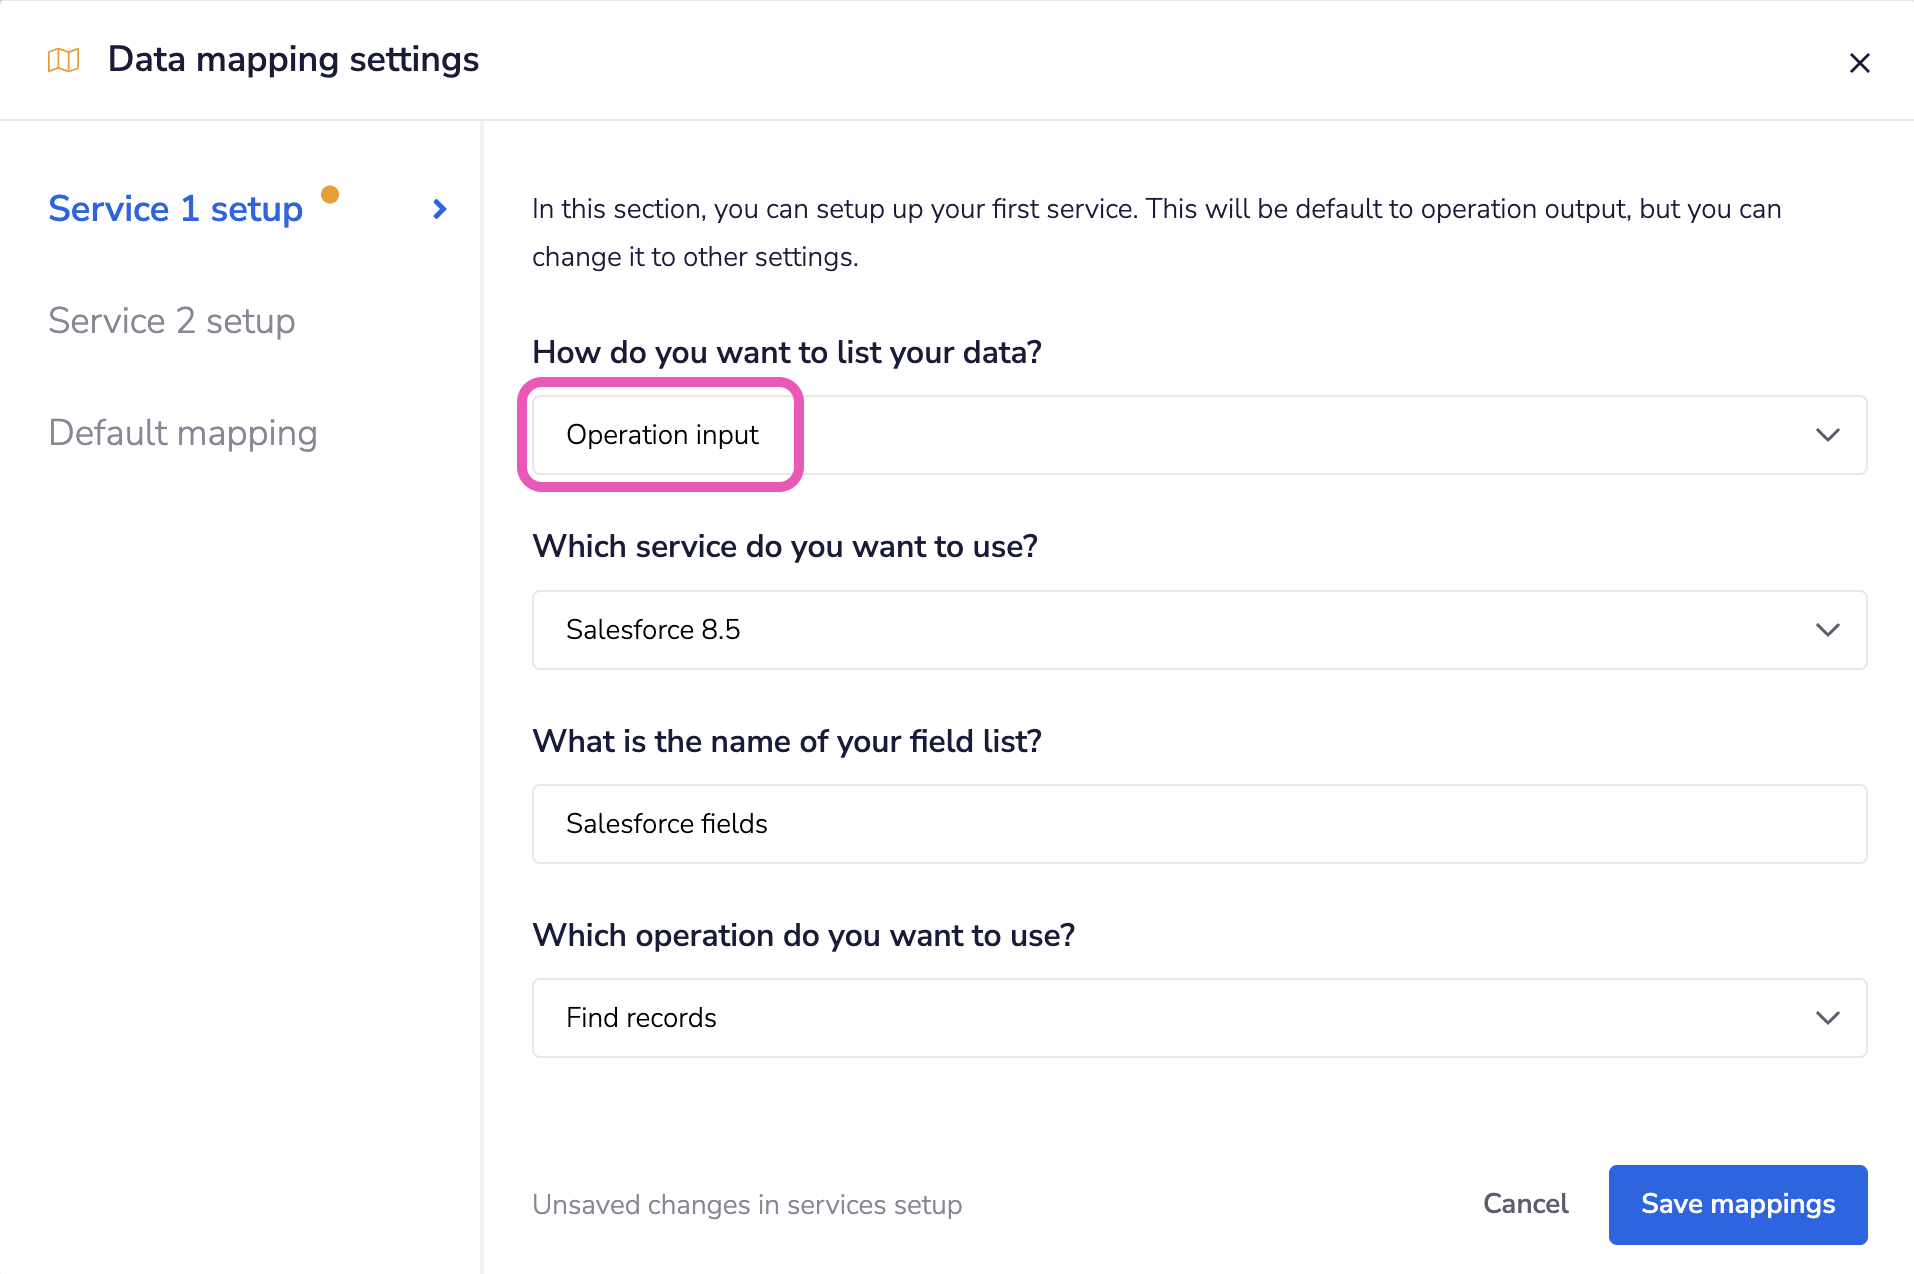
3. Dynamic lookup-generatedCopy
If the connector you are using has lookup operations available, this can be used as an alternative to hardcoding when you need to get at nested values.
It can also be used when the data that you want to map will change depending on a variable chosen by the End User in the Config Wizard - e.g. they might be able to select 'Account' or 'Lead' as the record type in Salesforce - and so a different set of fields will be produced depending on which has been selected.

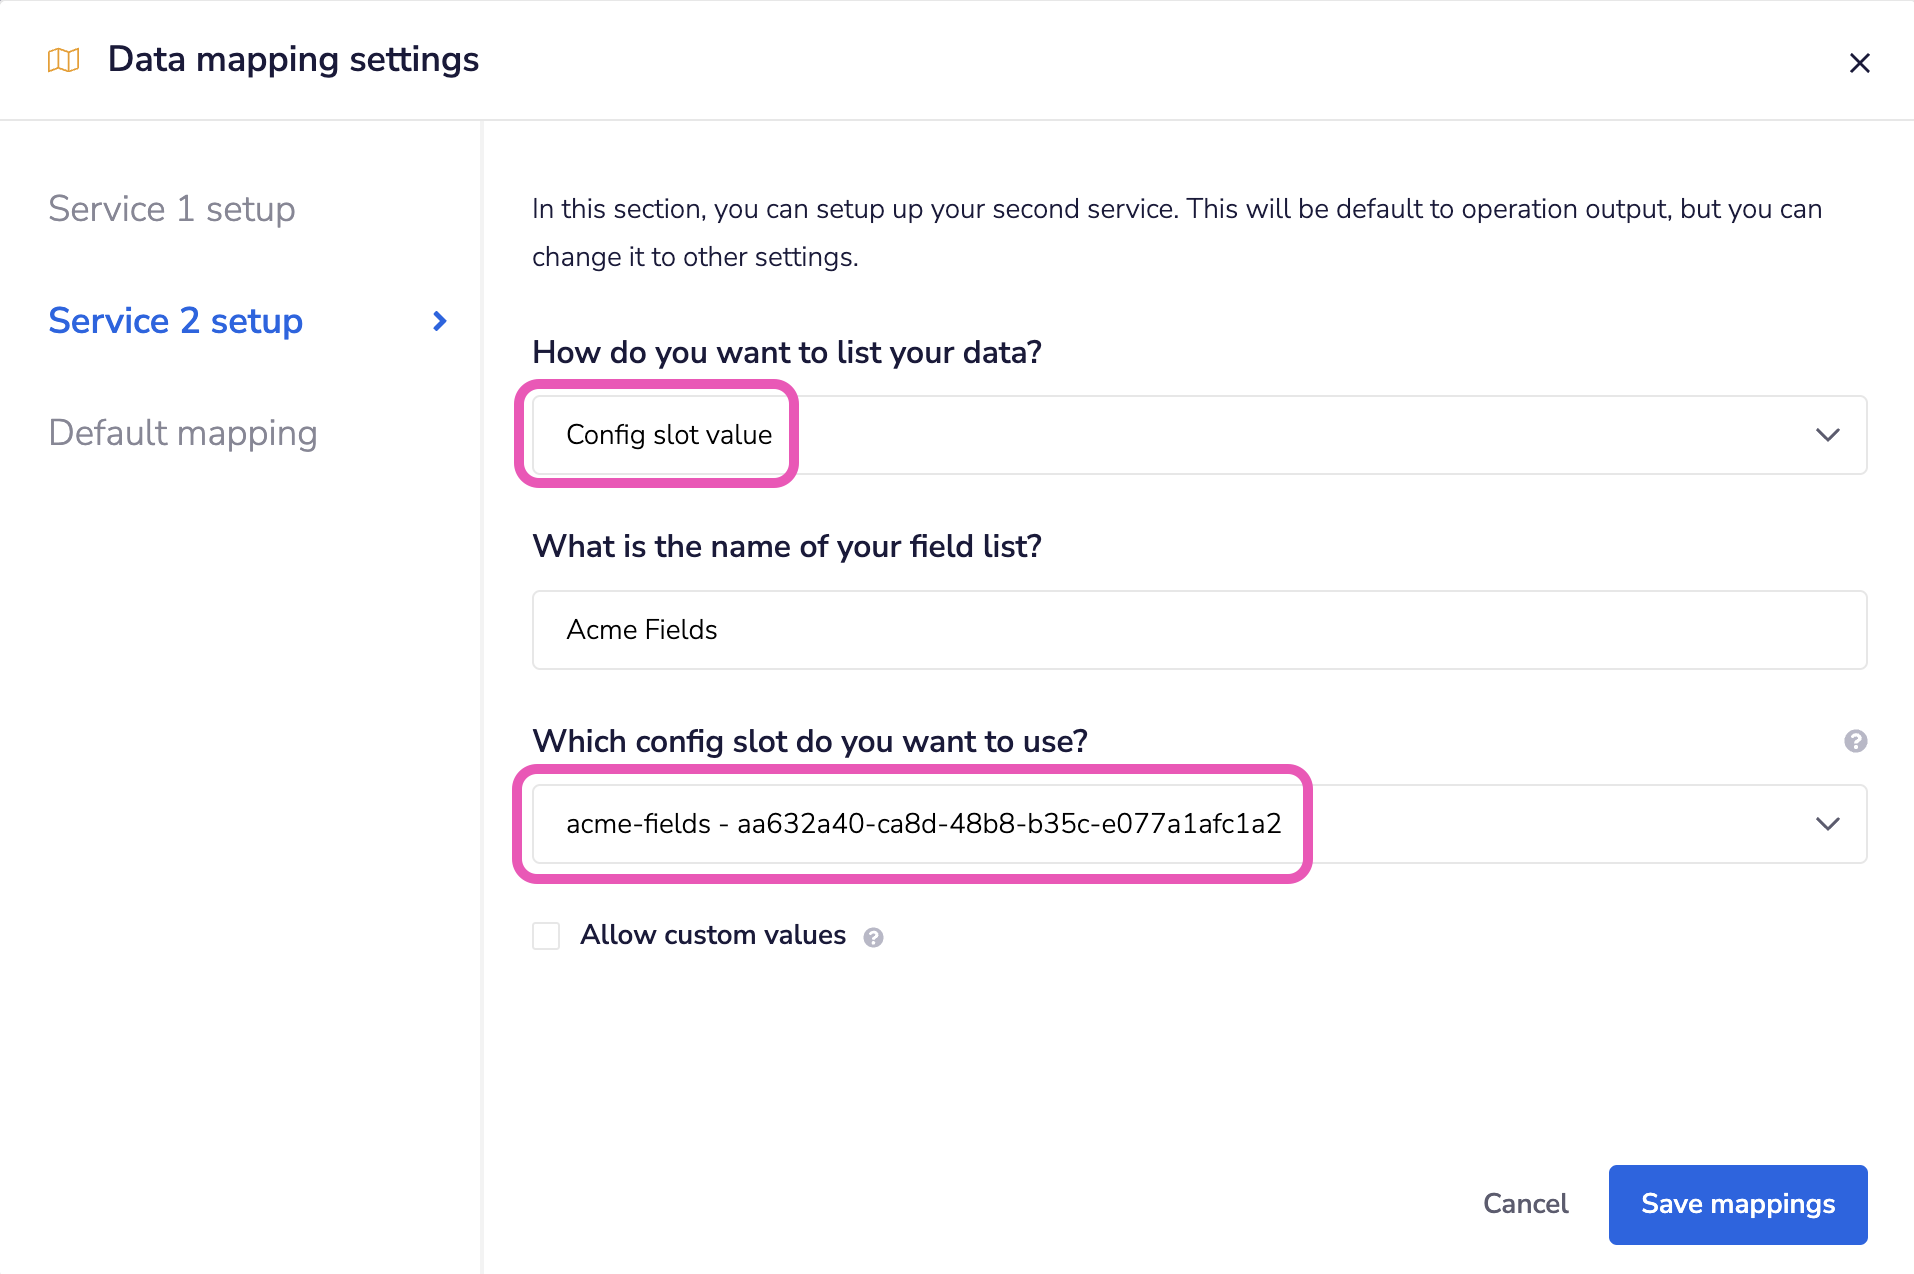
4. Config Slot ValueCopy
You can also point to a config slot which has been configured to return fields through Custom JS code - eg. you can use call connector operation of Custom JS and return a list of fields.