Zoho Creator 2.0
Zoho Creator is a cloud software to create custom applications on your own without the need for any coding experience.
OverviewCopy
Zoho Creator is a cloud-based low-code application development platform that empowers users to build enterprise-class applications that run on mobile, tablet, and the web. Zoho Creator's drag-and-drop interface enables you to create custom business applications in days rather than weeks.
AuthenticationCopy
When using the Zoho Creator connector, the first thing you will need to do is go to your Tray.io account page, select your workflow. Once in the workflow dashboard itself select and drag the Zoho Creator connector from the connectors panel (on the left hand side) onto your workflow.
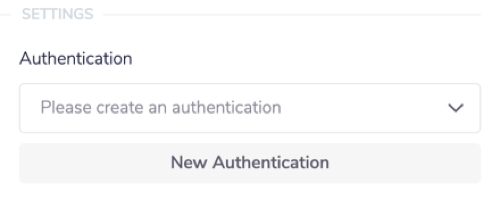
With the new connector step highlighted, in the properties panel on the right, click on 'New Authentication' under the 'Settings' heading.

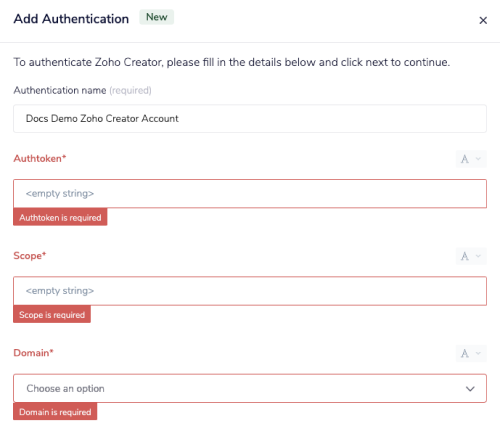
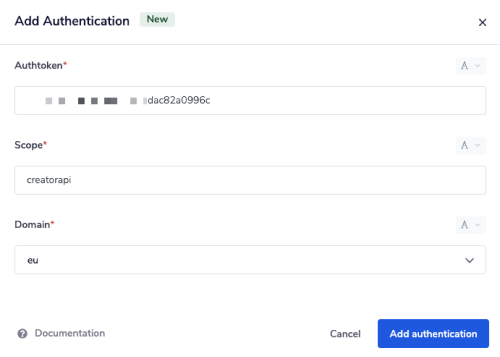
In the new pop-up window that appears, name your authentication as appropriate. As you will see, in order to create an authentication with Zoho Creator you will need to supply the 'Authtoken', 'Scope' and 'Domain' fields.

To get your auth token, head to the Zoho Creator Generate Auth Token site page, and select Browser Mode.

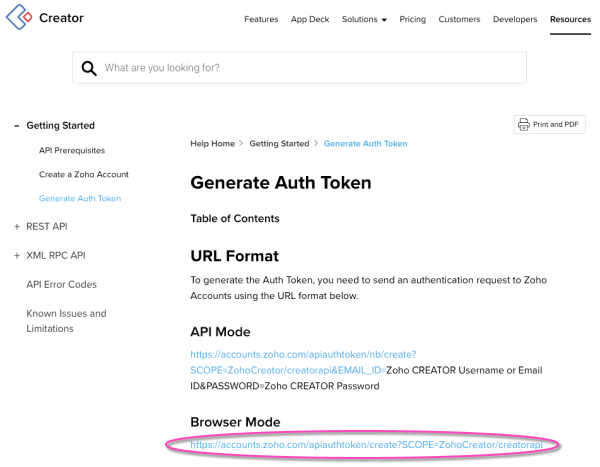
Here you will directed to a generator link: https://accounts.zoho.com/apiauthtoken/create?SCOPE=ZohoCreator/creatorapi, which should take you to the following page:

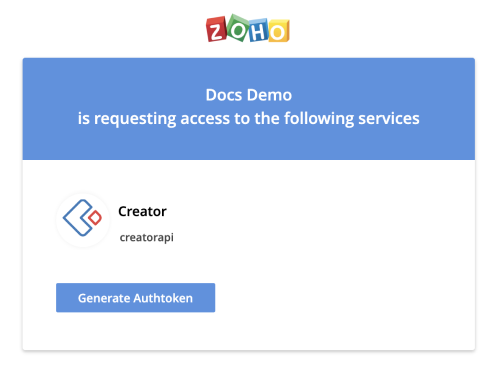
Click through the generate button, and copy the auth token specified. Paste it into your Tray.io authentication pop-up window.
Your 'Scope' will more than likely be creatorapi but depending on your project it may vary. Select eu as your domain if you are in Europe, or com if you are in America.
Your authentication pop-up should look similar to this upon completion:

Available OperationsCopy
The examples below show one or two of the available connector operations in use.
Please see the Full Operations Reference at the end of this page for details on all available operations for this connector.
Example usageCopy
In this example we will demonstrate how to use a number of operations that involve editing Zoho Creator records.
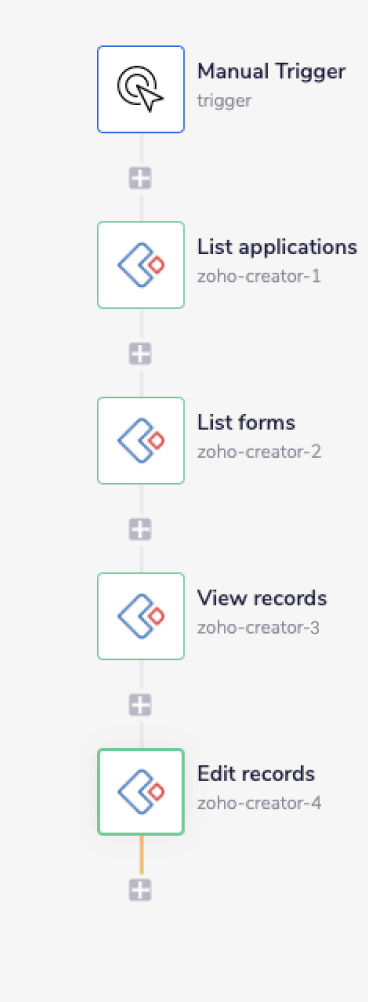
The steps below outline the example to follow:
Set up trigger and first connector step - list applications.
List your forms available.
View your records.
Edit said records.
The end result should look something like this:

1 - Setup the trigger and list appsCopy
Once you have created and named your new workflow, select 'Manual Trigger' from the connectors panel on the left, and add a 'Zoho Creator' connector in your second step. Set the operation to 'List applications'. Your 'Limit' field should be prepopulated for you, but feel free to change it as you see fit.


2 - List your formsCopy
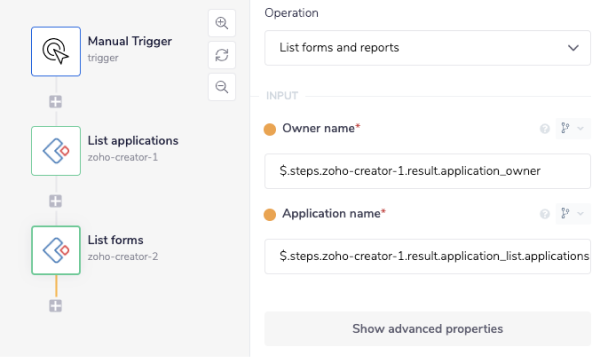
Add another Zoho Creator connector step and set the operation to: 'List forms and reports'.
Set your 'Owner name' to the person who is listed as the application owner, and the 'Application name' should be likewise, set to the kind of application you are using (in our example we have chosen to use 'employee-management').
Both can be generated using the connector-snake, make sure you select application_owner for 'Owner name', and link_name for 'Application name' fields. Your results should be as follows:
Owner name: $.steps.zoho-creator-1.result.application_owner
Application name: $.steps.zoho-creator-1.result.application_list.applications[0].application[0].link_name

3 - View recordsCopy
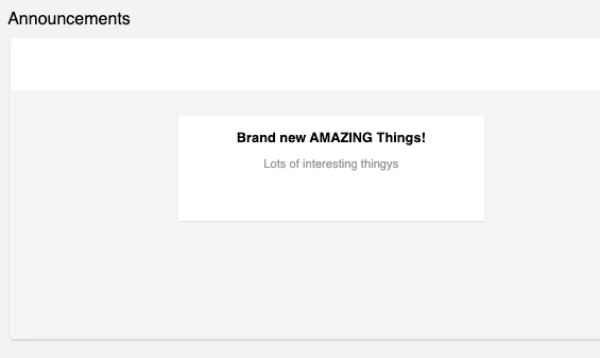
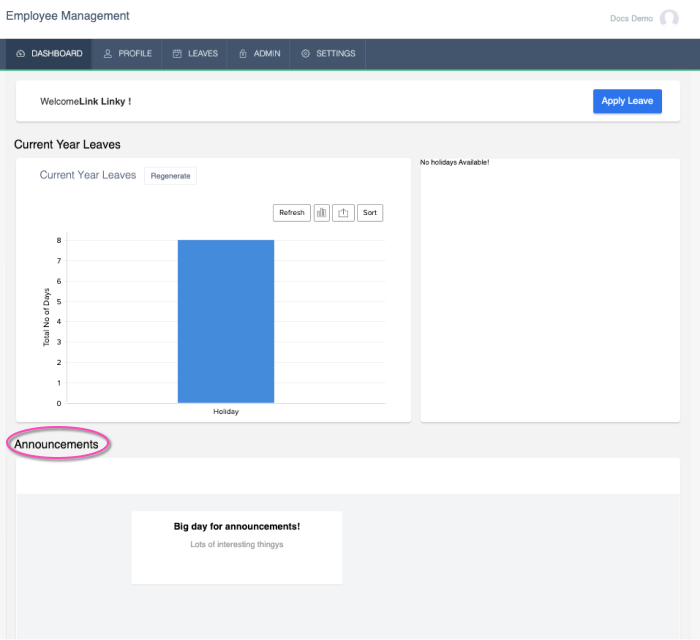
Add another Zoho Creator connector step and set the operation to: 'View records'. Fill in the details for the same fields as above again. Set your 'View name' to 'Announcements'.


The 'View name' field refers to the header of your dashboard section - to double check this please go to your account dashboard for the options available.

4 - Edit recordsCopy
Add your final Zoho Creator connector step and set the operation to: 'Edit records'. Fill in the details for the same fields as above again (Owner and App name).
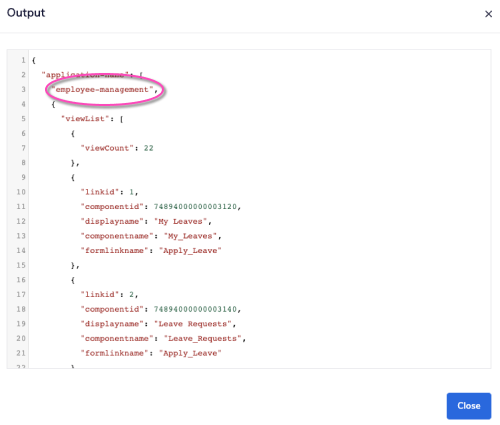
Set your 'View or form name' field to: $.steps.zoho-creator-2.application-name[1].viewList[7].formlinkname.
The way you can see the JSON path explained above is through the Debug panel - click on the List forms Zoho Creative (zoho-creator-2) and expand the output to see the form list name entitled 'employee-management':

Set you 'Permission' to ticked, and add a 'Field' by clicking on the grayed out, 'Add Property To Fields' button. name the field as Announcement_Name. Enter in the new field your new field message.
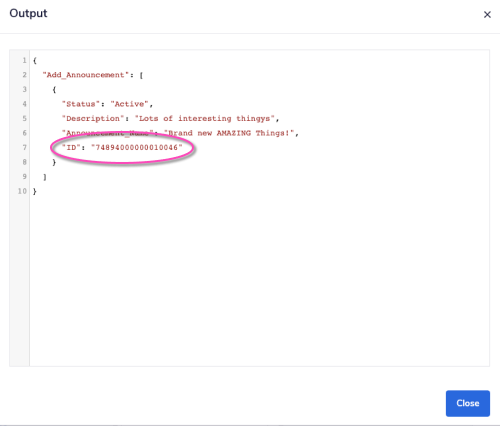
Make sure to also add ID in the 'Column name' field underneath as this is mandatory. Set your 'Operator' to 'Equal to' and 'Value' as the ID: $.steps.zoho-creator-3.Add_Announcement[0].ID.
IMPORTANT!: Please take note that the**
Zoho Creator will not accept any Column name other than ID
**.
Again this path can be confirmed when you expand the Output panel in the Debugger, and select the fourth step in your workflow ((zoho-creator-3).

Click the 'Run Workflow' button in the bottom right of your Tray.io dashboard. Select the Debug tab at the top of the dashboard and you should be able to see your successful output (that displays an updated record).

Your Zoho Creator dashboard should also reflect this: