
Stedi 2.0
Stedi is a developer-focused platform for building automated EDI solutions that integrate with any business system.
- On this page
- Stedi
- Overview
- API Information
- Authentication
OverviewCopy
Stedi builds products for developers who need to ingest or generate X12 EDI files. Stedi’s EDI Translate API enables developers to to translate X12 EDI documents to and from JSON..
Used in conjunction with Stedi Guides, Stedi’s EDI Translate API will also validate incoming and outgoing EDI documents against trading partner specifications for fast and error-free integrations.
API Information Copy
The Base URL used for the Stedi EDI Translate connector is https://edi-translate.us.stedi.com/2022-01-01. More information can be found on their main API documentation (v1.0) site.
AuthenticationCopy
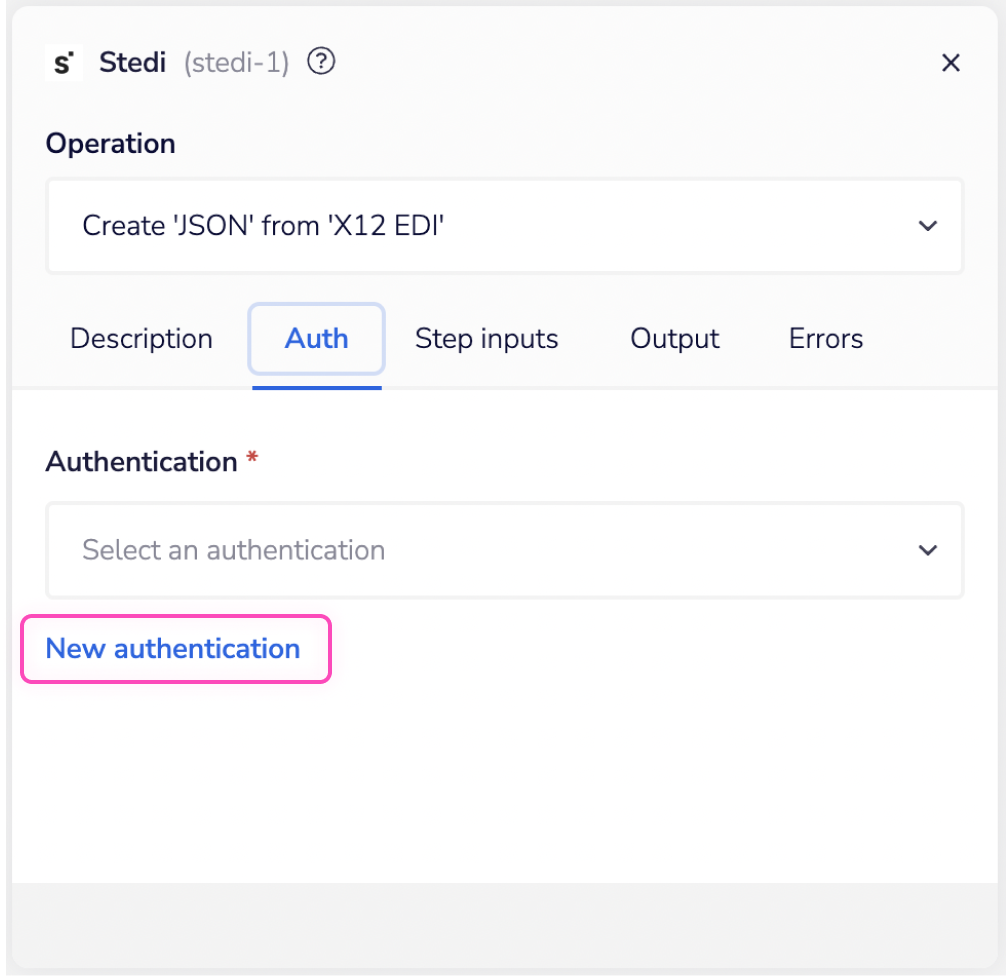
Within the builder, click on the Stedi connector to display the connector properties panel. Select the Auth tab and click on the New authentication button.

In the Tray.io authentication pop-up modal, name your authentication in a way that will quickly identify it within a potentially large list. For example, whether it is a Sandbox or Production auth, etc.
Consider who and how many people will need access to this authentication when choosing where to create this authentication ('Personal' vs 'Organisational').
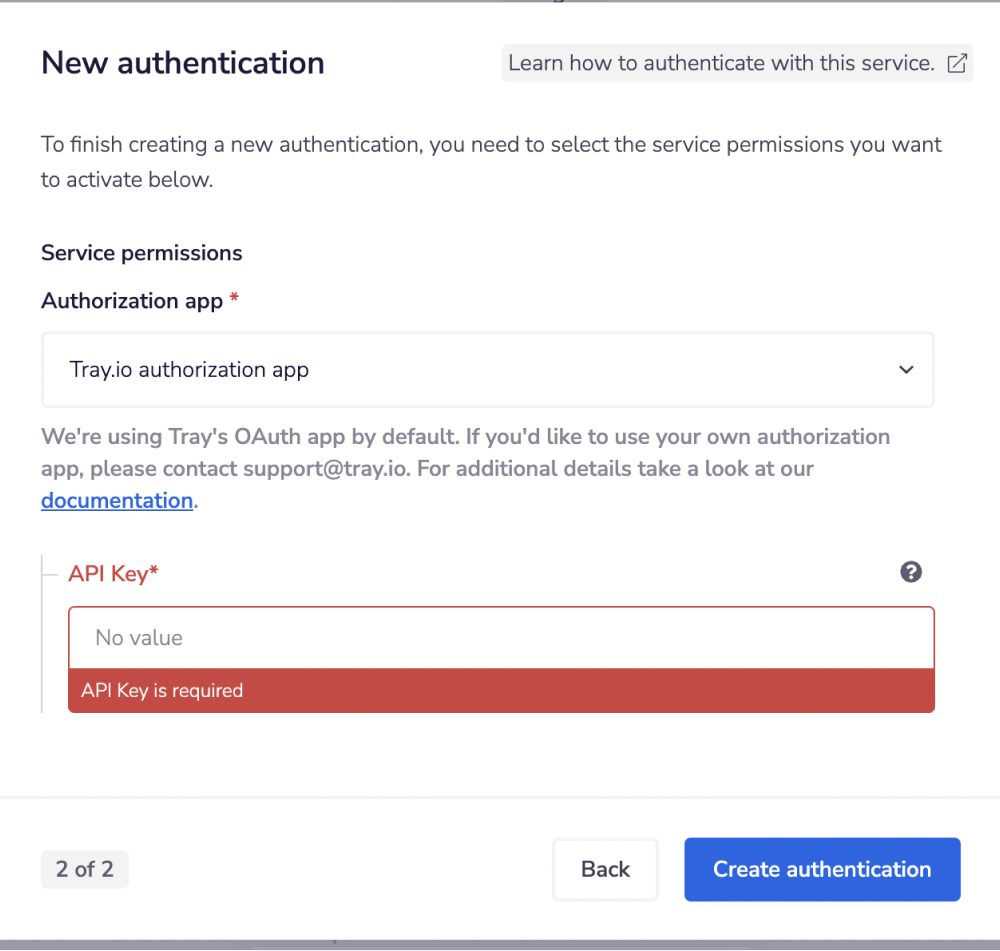
The next page asks you for your 'API Key' credentials.

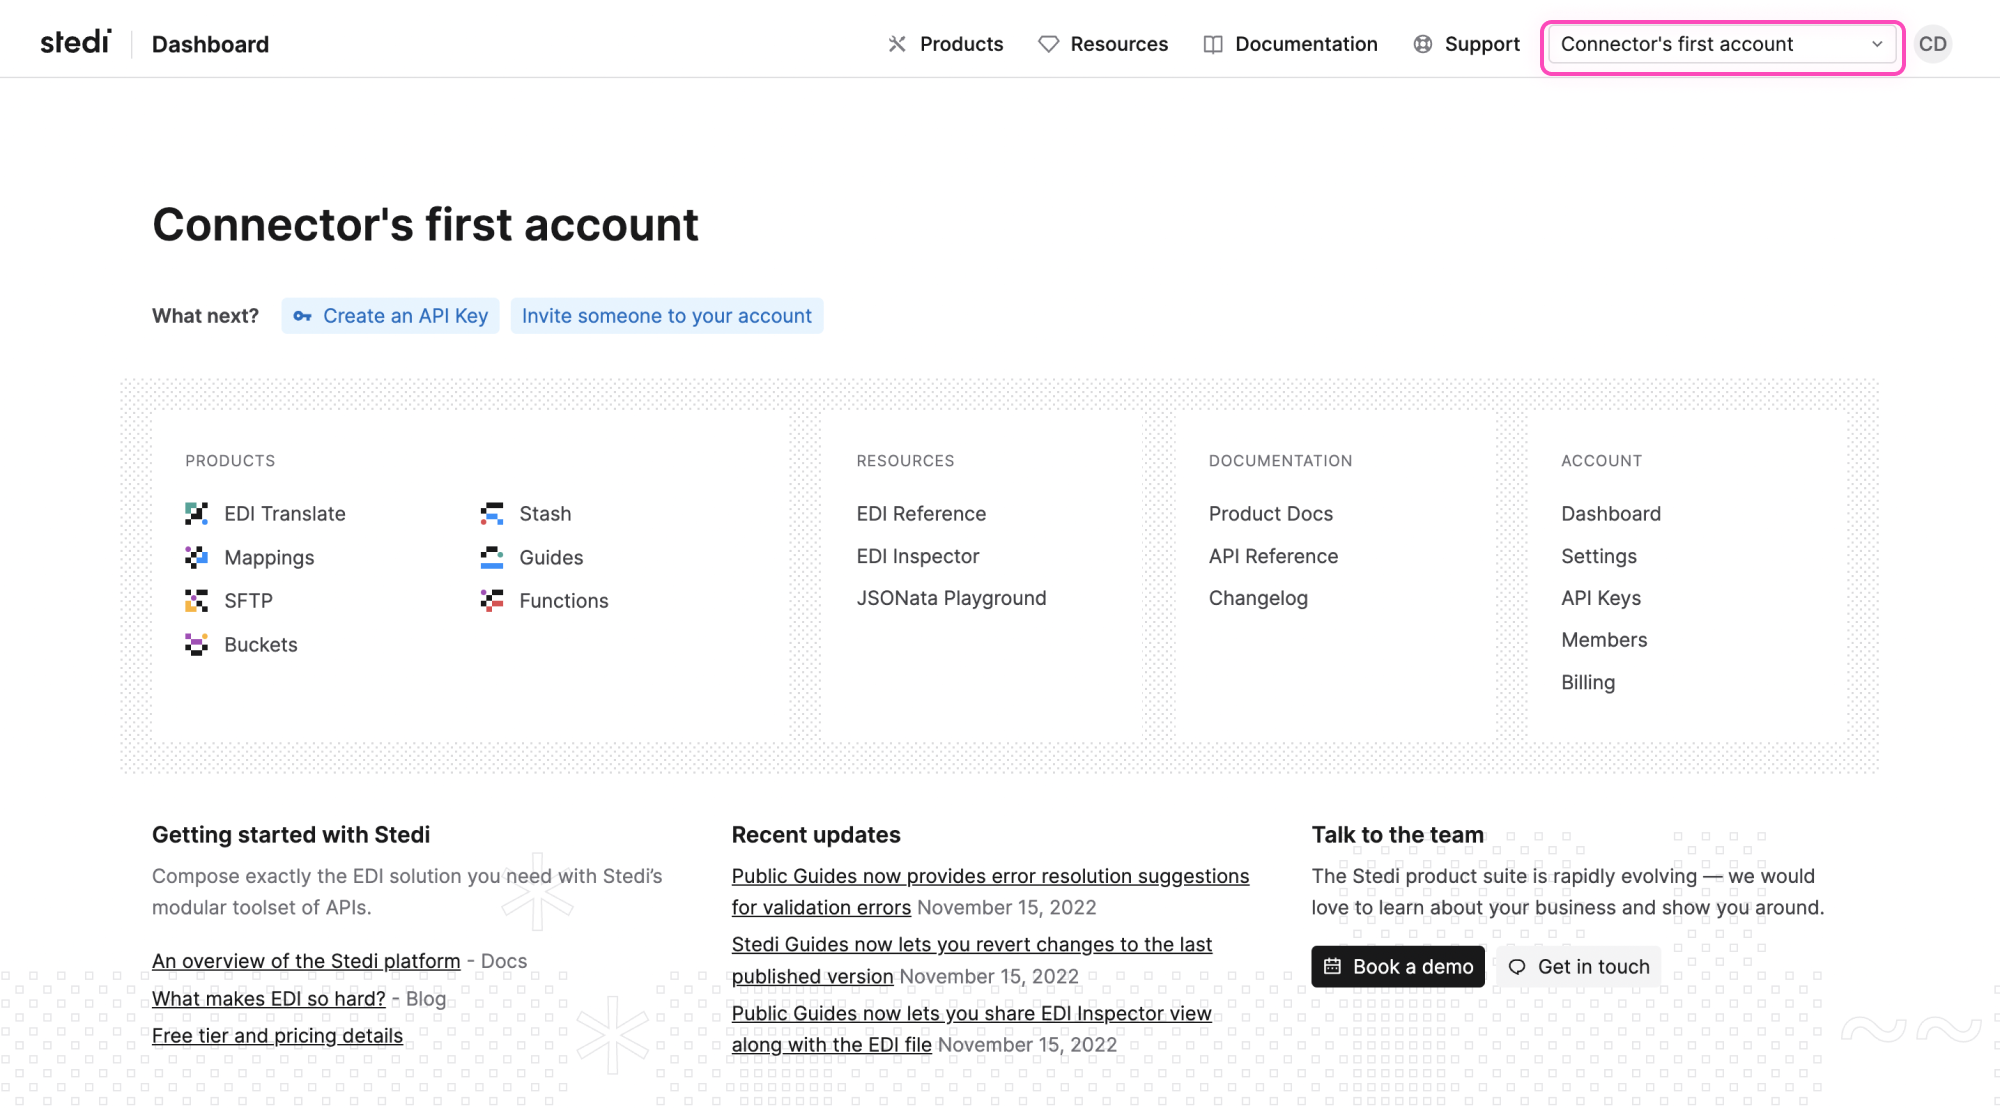
To get these fields, head to the Stedi dashboard. Click on the “gear” icon on the on the top right.

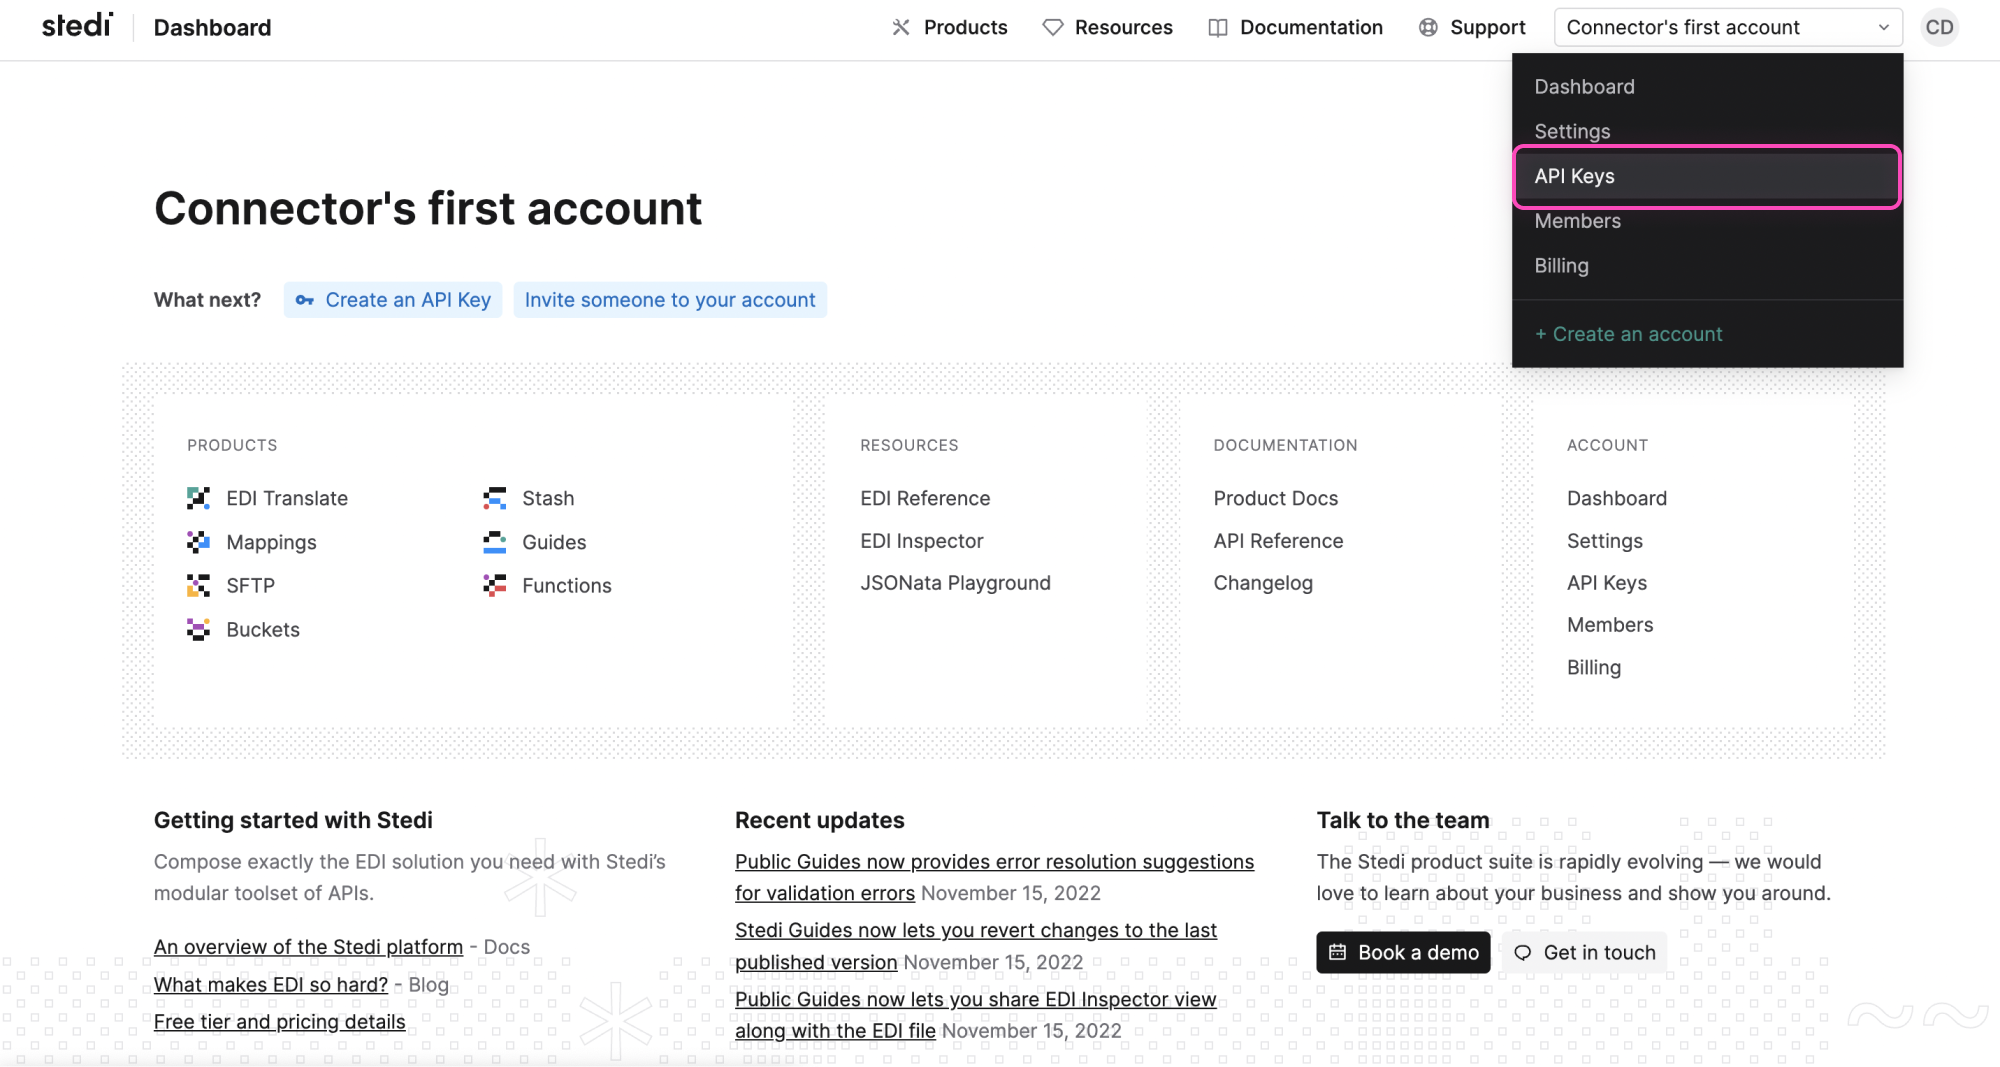
Select the 'API keys' option from the dropdown menu to get the API key.

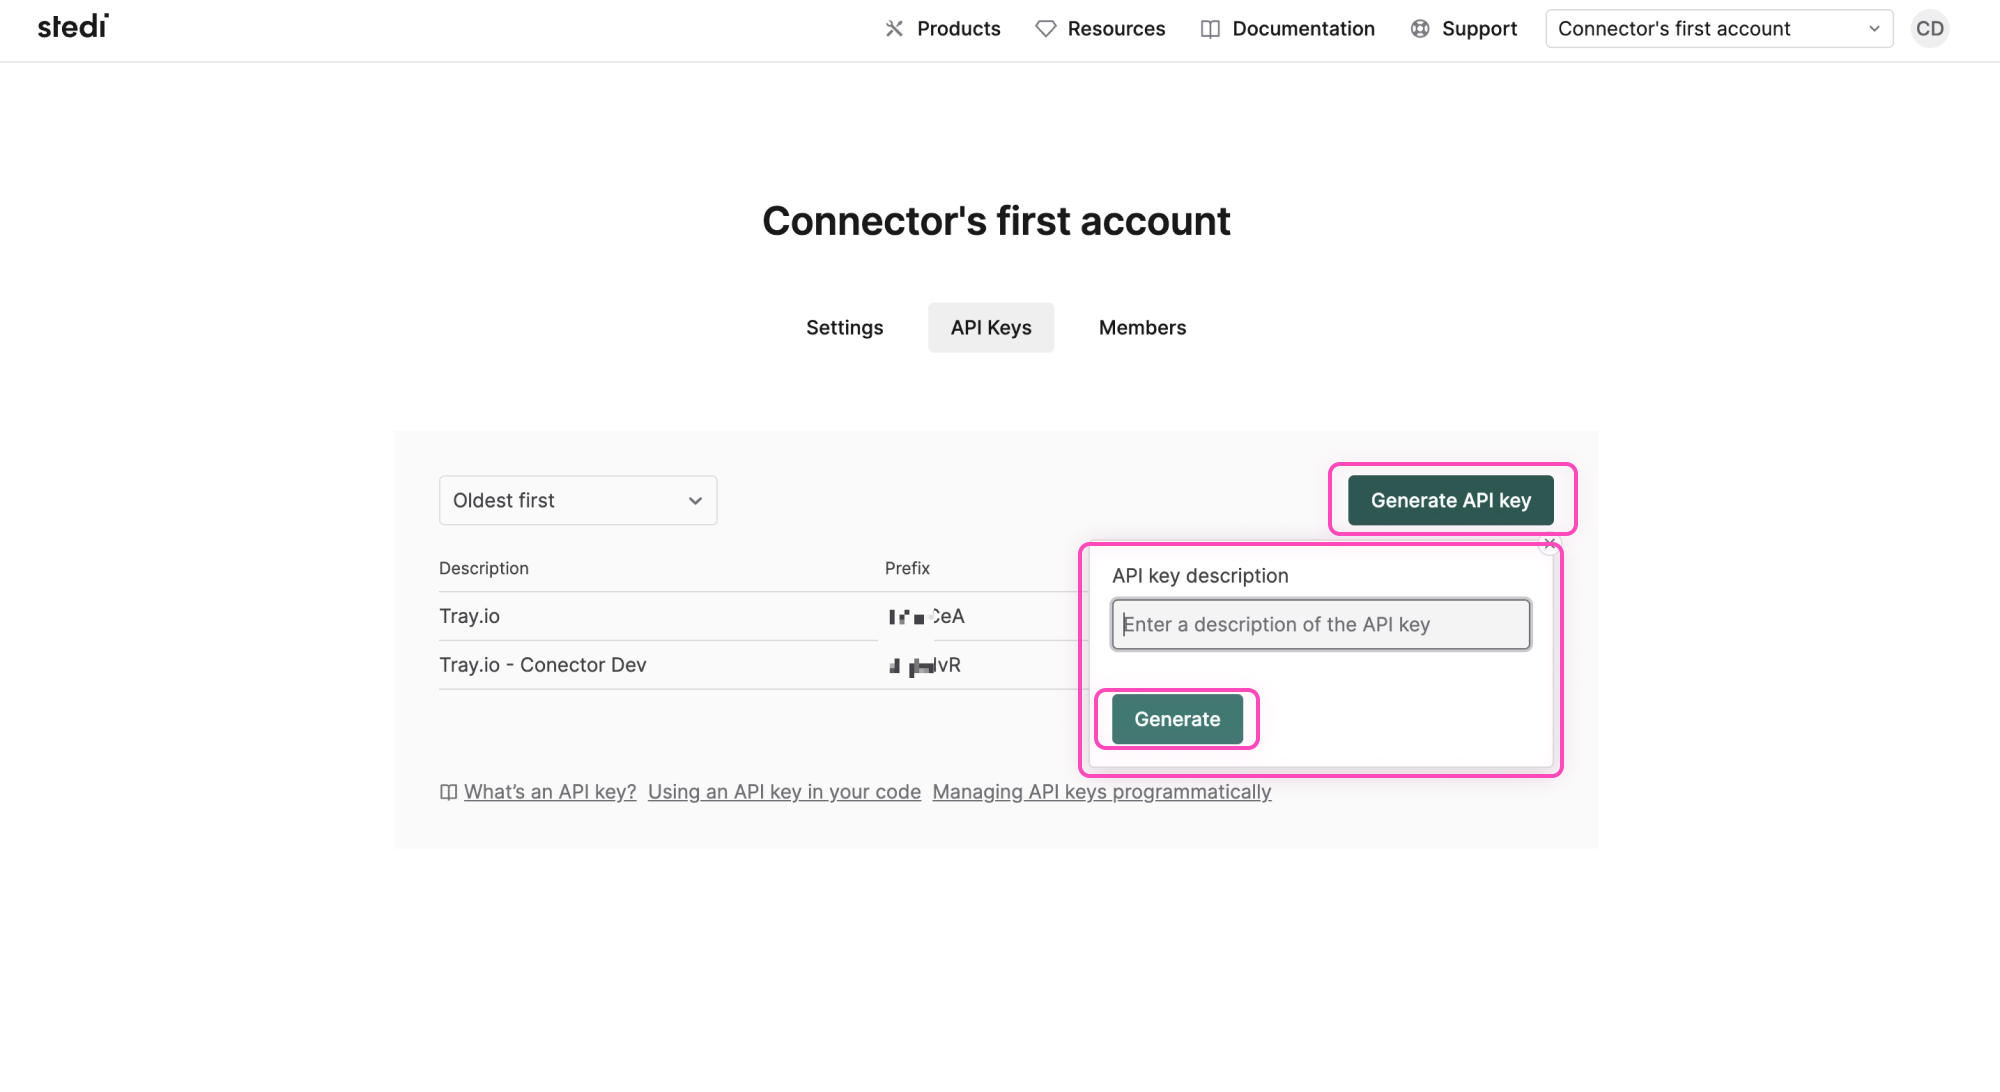
On the 'API keys' page, click on 'Generate API key' button.
On the popup enter the 'API key description' and click on the 'Generate' button to create a new API key.

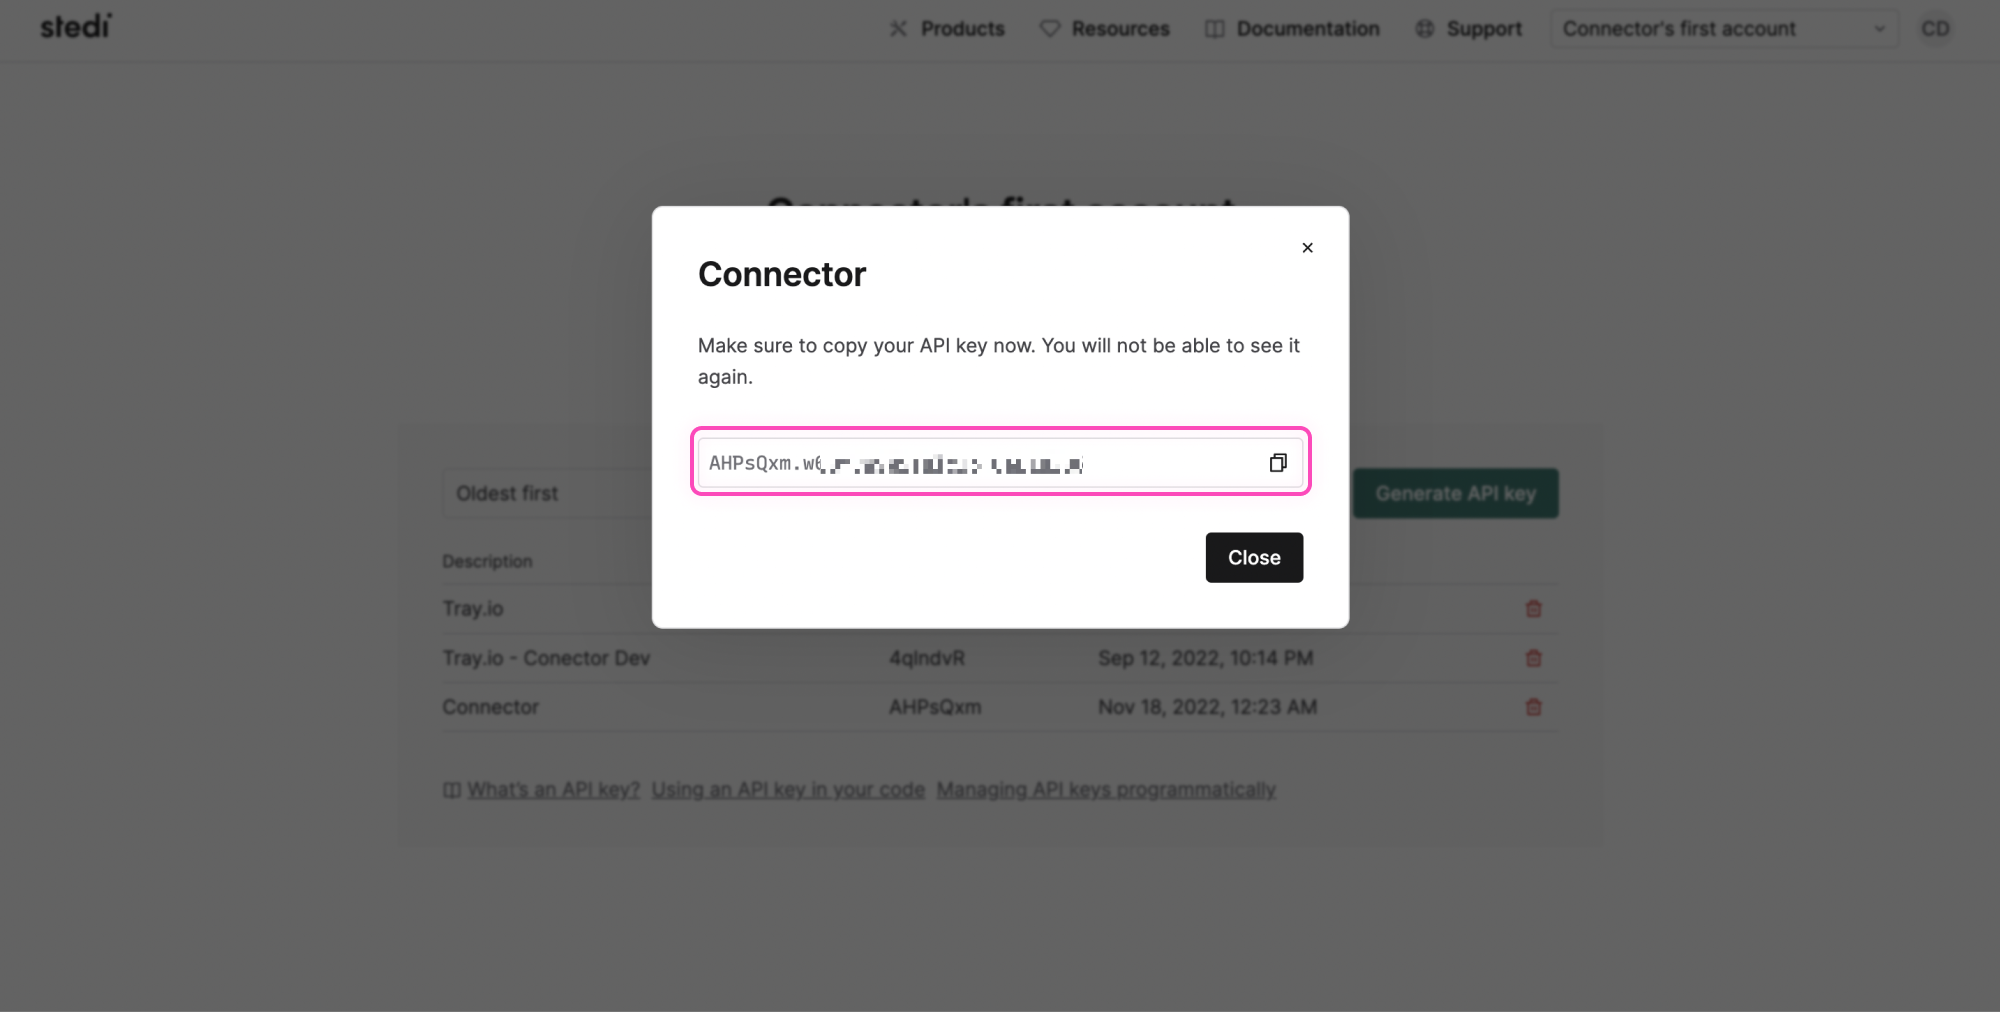
Copy the API key from the popup.

Once you have added these fields to your Tray.io authentication pop-up window click the Create authentication button.
Your connector authentication setup should now be complete. Please run the simplest operation available to test and make sure you can retrieve data as expected.
Available OperationsCopy
The examples below show one or two of the available connector operations in use.
Please see the Full Operations Reference at the end of this page for details on all available operations for this connector.
Using the Raw HTTP Request ('Universal Operation')Copy
As of version 1.0, you can effectively create your own operations.
This is a powerful feature that you can use when there is an endpoint in Stedi that is not used by any of our operations.
To use this, you will first of all need to research the endpoint in Stedi EDI Translate API documentation (v1.0) to find the exact format that Stedi will be expecting the endpoint to be passed in.
For example, say that the Create 'X12 EDI' from 'JSON' operation did not exist in our Stedi connector, and you wanted to use this endpoint. You would use the Stedi API docs to find the relevant endpoint - which in this case is a POST request called: '/x12/from-json'.
More details about this endpoint can be found here.
Based on the information provided in the above API call doc, you need to configure the following attributes on your Tray platform:

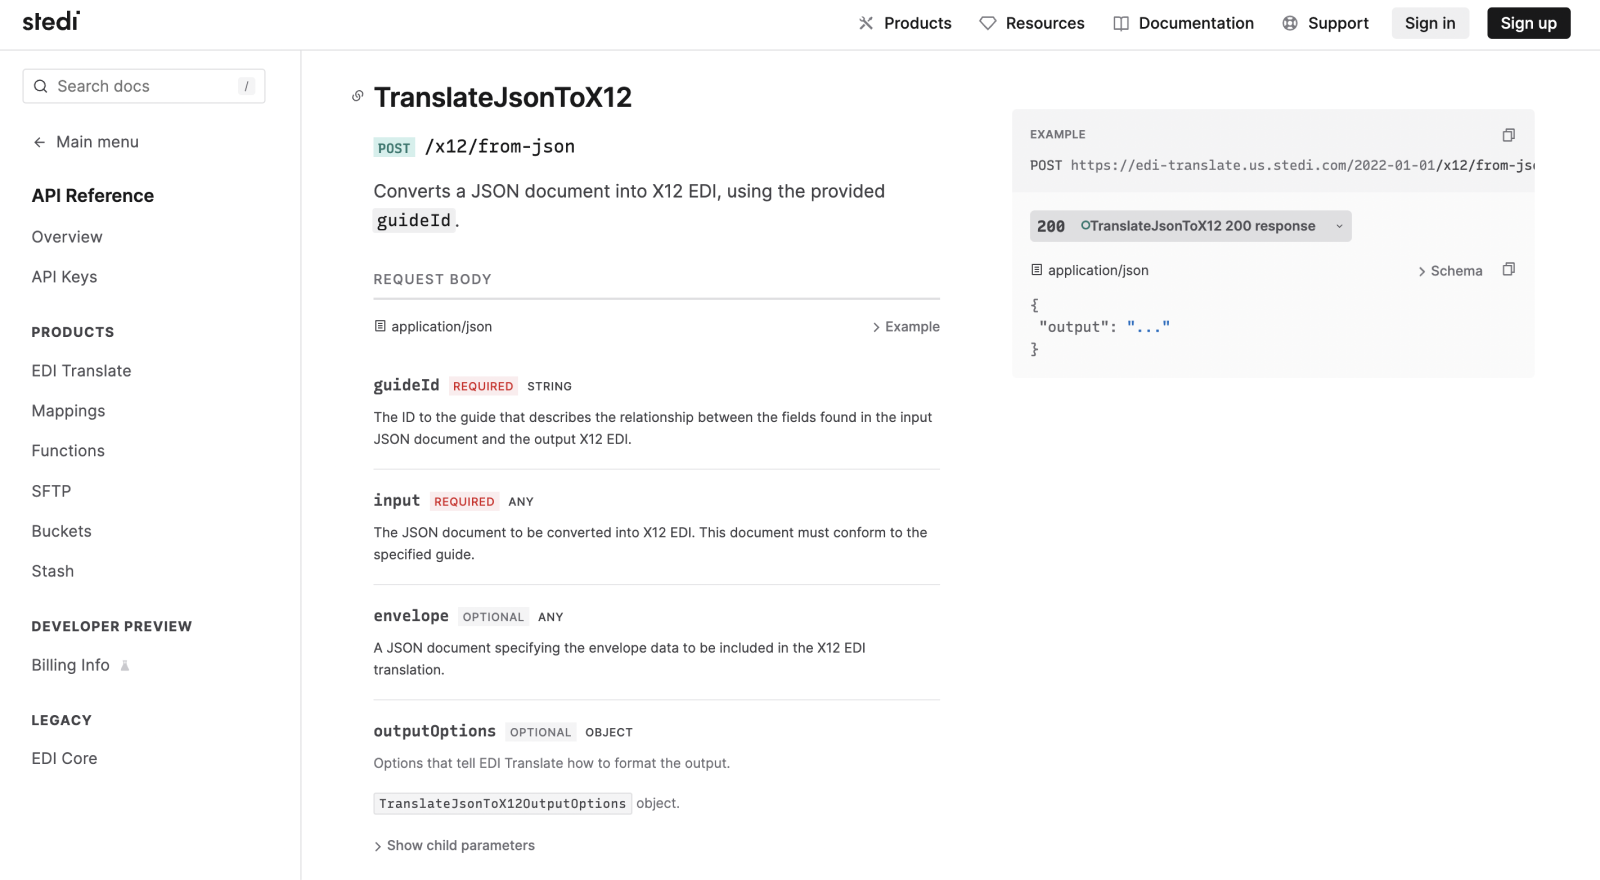
Method:
POSTURL:
Endpoint :
/x12/from-json
Headers:
NoneQuery parameters:
NoneBody Type:
raw


Once the API call is executed successfully, you should get the following results:


Example UsageCopy
TRAY POTENTIAL: Tray.io is extremely flexible. By design there is no fixed way of working with it - you can pull whatever data you need from other services and work with it using our core and helper connectors.
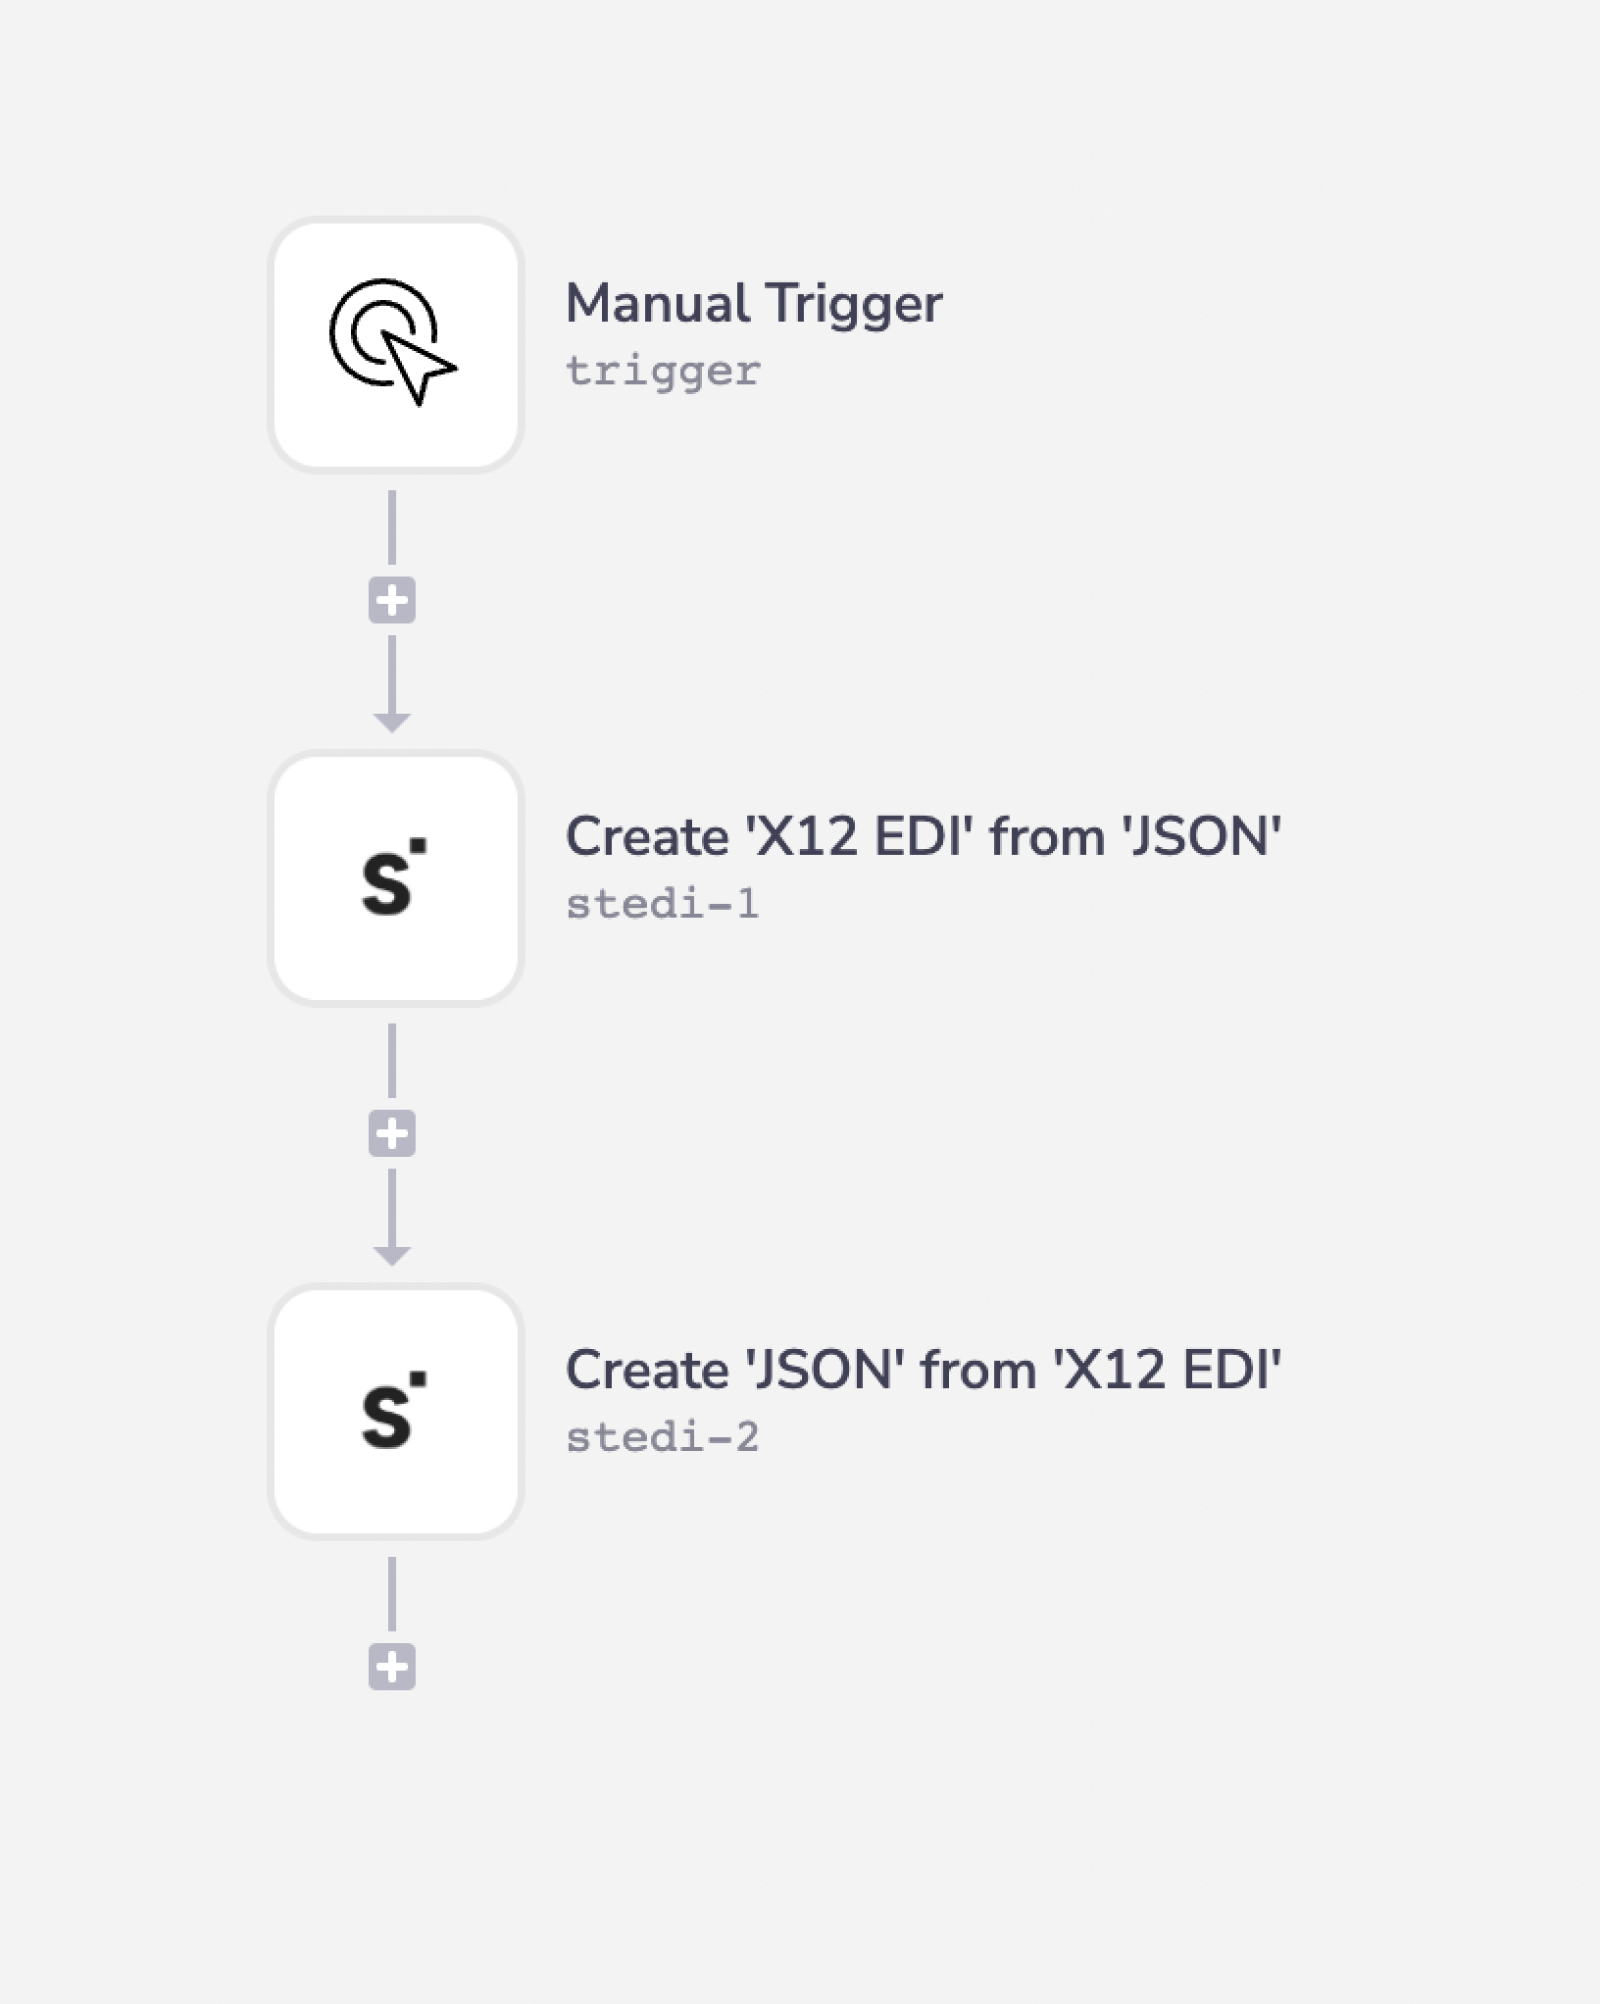
Below is an example of a way in which you could potentially use the Stedi connector, to create 'X12 EDI' from 'JSON' and then convert the 'X12 EDI' from the output back to 'JSON'.
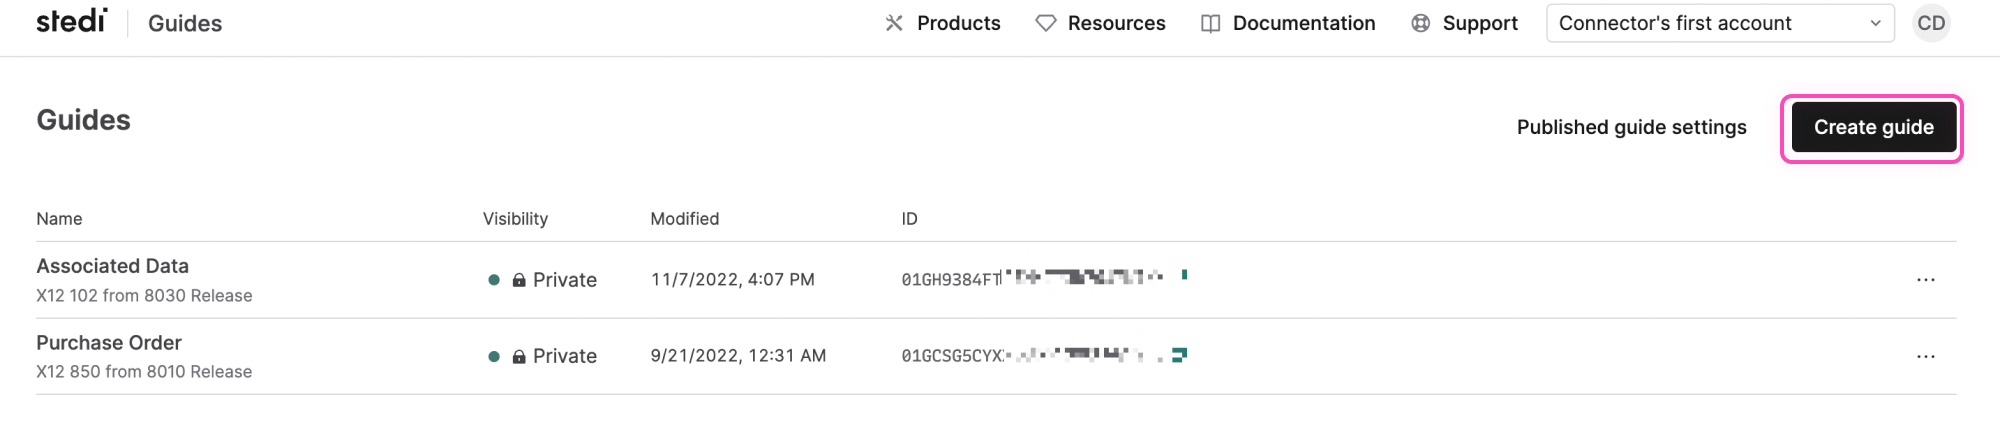
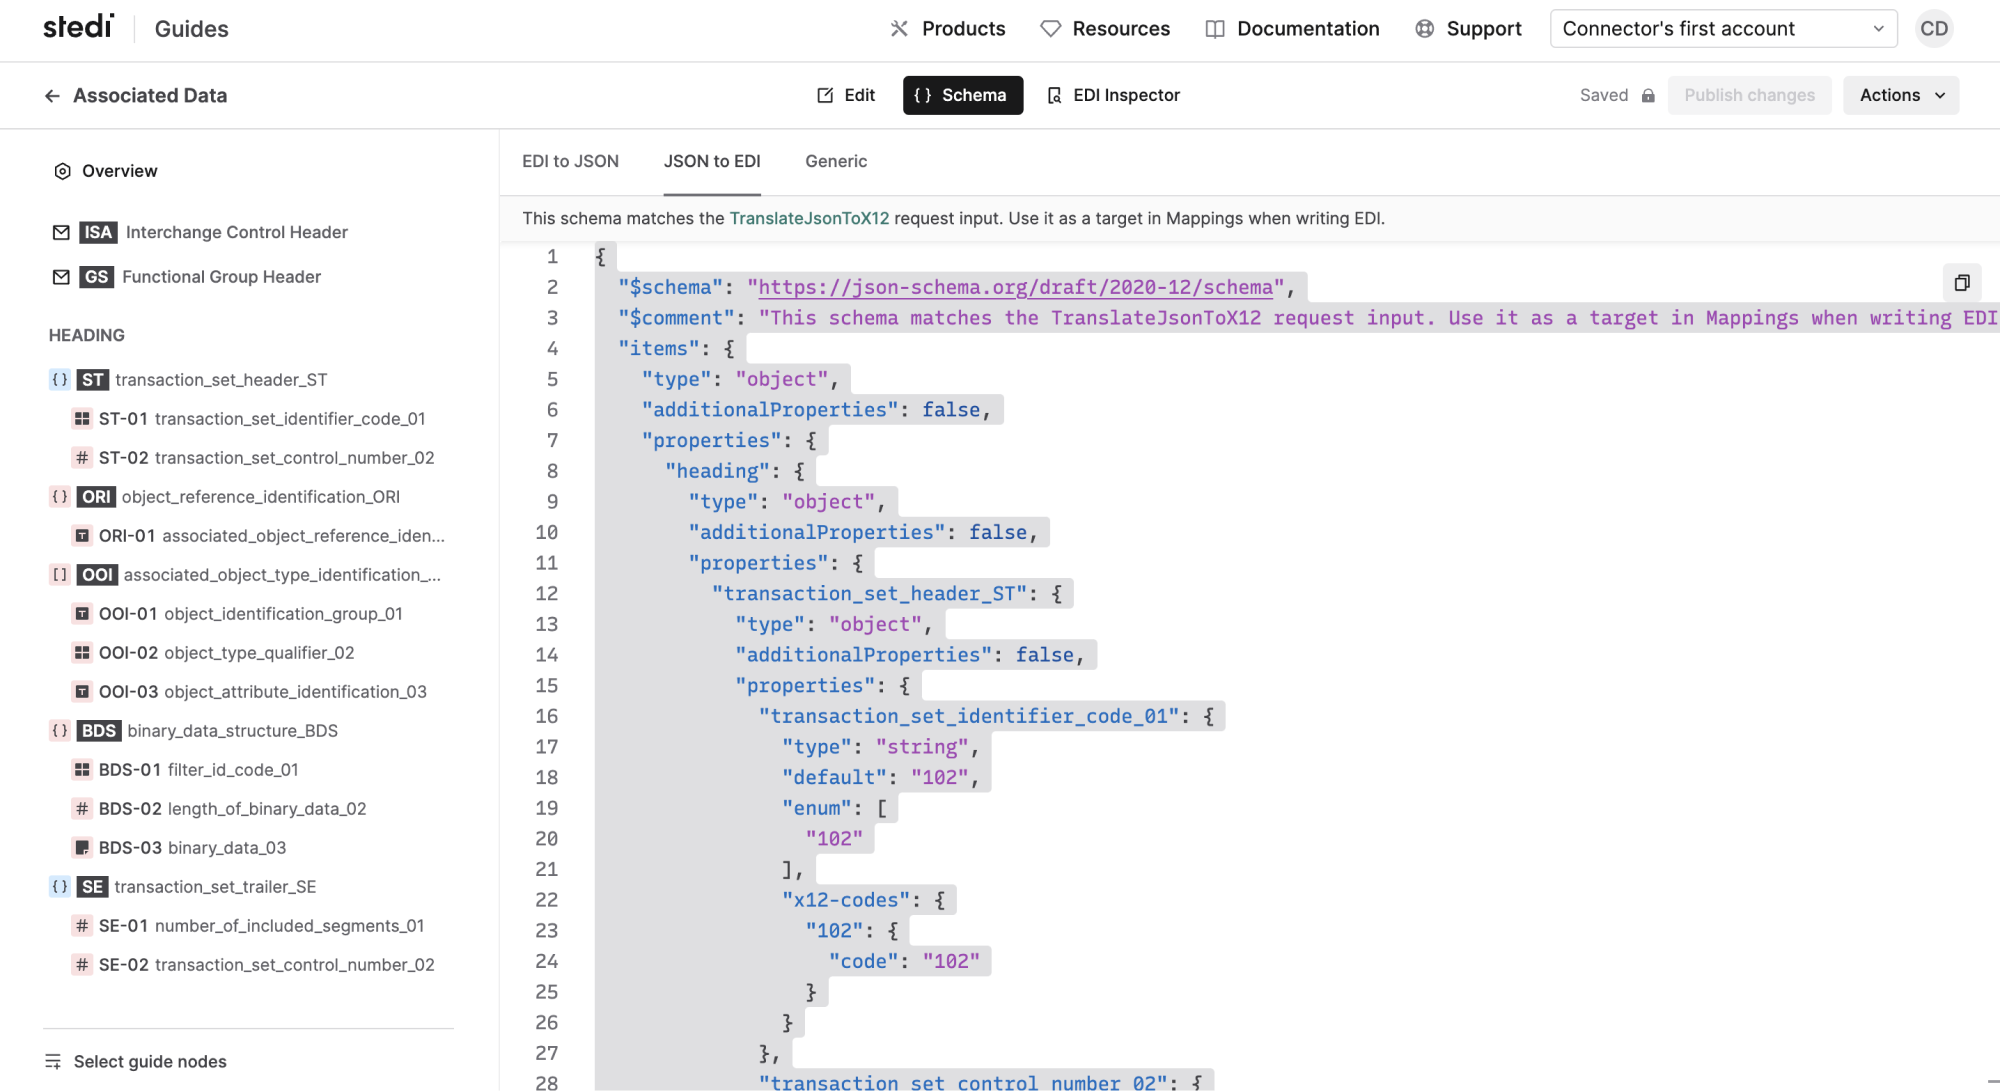
You will need to create a guide that describes the relationship between the fields found in the input 'X12 EDI' document and the output 'JSON'. If you don’t have a guide, you can reach out to Stedi to see if they have the guide you need..
The guides have associated IDs, which you will use when creating 'X12 EDI' and 'JSON' documents.

The 'JSON input' must conform to the 'JSON Schema in the guide.

The overall logic of the workflow is:
Setup using a manual trigger
Gets the 'guideID' and the 'JSON Input'
Gets the output and 'guideID' from the previous step. You can get the output using the connector snake.
Creates 'JSON' from the 'X12 EDI' input.
Your completed workflow should look similar to this:

Step-by-step ExplanationCopy
BEST PRACTICES: Whenever you do decide to create your own workflow, be sure to check out some of our key articles such as: