
Microsoft Dynamics GP 1.1
Bring greater control over your financials, stock, and operations with Dynamics GP, a business management solution for small and medium-sized businesses that goes beyond accounting software.
OverviewCopy
Dynamics GP is a business management solution offering a range of Functionality to automate and streamline business processes. Manage your finances, projects, HR, supply chain, and CRM. Make better data-driven decisions with business intelligence capabilities.
IMPORTANT!:If your Dynamics GP endpoint is secured behind a firewall, you must ensure that you have whitelisted our IP addresses:
52.40.200.248
52.39.10.61
52.26.59.155
AuthenticationCopy
When using the Microsoft Dynamics GP connector, the first thing you will need to do is go to your Tray.io account page, and select the workflow you wish to work on. Once in the workflow builder itself, search and drag the Microsoft Dynamics GP connector from the connectors panel (on the left hand side) onto your workflow.
With the new Microsoft Dynamics GP connector step highlighted, in the properties panel on the right, click on the Authenticate tab and 'Add new authentication' (located under the 'Authentication' field).


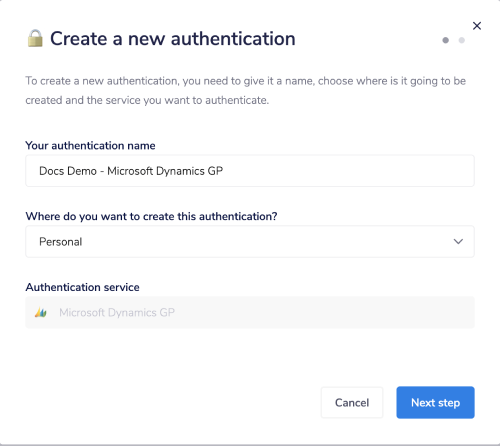
This will result in a Tray.io authentication pop-up window. The first page will ask you to name your authentication, and state which type of authentication you wish to create ('Personal' or 'Organization').

As you can see, the next page asks you for your 'WSDL URL', 'Username', and 'Password'. Scrolling down, you can also provide 'Domain' and 'Workgroup'.
<span style={{ display: 'block', textAlign: 'center' }}>

<Content type in custom component span TBD>
The WSDL URL that you will provide here will be slightly different depending on whether you are using the Legacy endpoint or the Native endpoint:
Legacy endpoint:
http://server_name:port/DynamicsGPWebServices?singleWsdlNative endpoint:
http://server_name:port/Dynamics/GPService?singleWsdl
Substitute the server name and the port selected during installation for the 'server_name' and 'port' in the above URLs.
USER TIP: You can also visit
http://server_name:port/DynamicsGPWebServices
and
http://server_name:port/Dynamics/GPService
in your web browser to verify that your web services are installed, and that your endpoints are responding correctly.
The values for the other fields will be as they were set when 'Web Services for Microsoft Dynamics GP' was installed.
Once you have added these fields to your Tray.io authentication popup window, click on the 'Create authentication' button. Go back to your settings authentication field (within the workflow builder properties panel), and select the recently added authentication from the dropdown options now available.
Your connector authentication setup should now be complete.
Available OperationsCopy
The examples below show one or two of the available connector operations in use.
Please see the Full Operations Reference at the end of this page for details on all available operations for this connector.
Note on Operations UsageCopy
List sales ordersCopy
This operation calls the GetSalesOrderList method, and unlike other List operations, can fail unless a 'Criteria' is specified.
'List sales orders' fails without criteriaCopy


'List sales orders' criteria workaroundCopy

A possible workaround is to specify a criteria such as Customer ID Not Equal Value empty string, as shown in this example of a successful request.
You can send an empty string by typing some value into the field, clicking outside the field to set the value, deleting it and finally clicking outside of the field to set an empty string.
<span style={{ display: 'block', textAlign: 'center' }}>

<Content type in custom component span TBD>
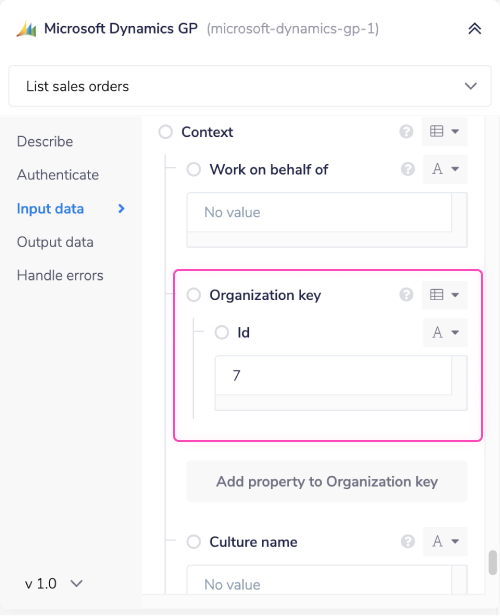
ContextCopy
With two exceptions, all of the Web Service methods require a 'Context'. For example, setting the 'Organization key' to the Company 'Id' of 7:

The exceptions are the GetCompanyList method (represented by the 'List companies' operation) and the GetWSEnabledCompanyList method (represented by the 'List companies (Web services enabled)' operation). These two operations fail if supplied with such a 'Context'.
Example UsageCopy
TRAY POTENTIAL: Tray.io is extremely flexible. By design there is no fixed way of working with it - you can pull whatever data you need from other services and work with it using our core and helper connectors. This demo which follows shows only one possible way of working with Tray.io and the microsoft-dynamics-gp connector. Once you've finished working through this example please see our Introduction to working with data and jsonpaths page and Data Guide for more details.
Below is an example of a way in which you could potentially use the Microsoft Dynamics GP connector, to loop through a list of Customers and return full data of each one.
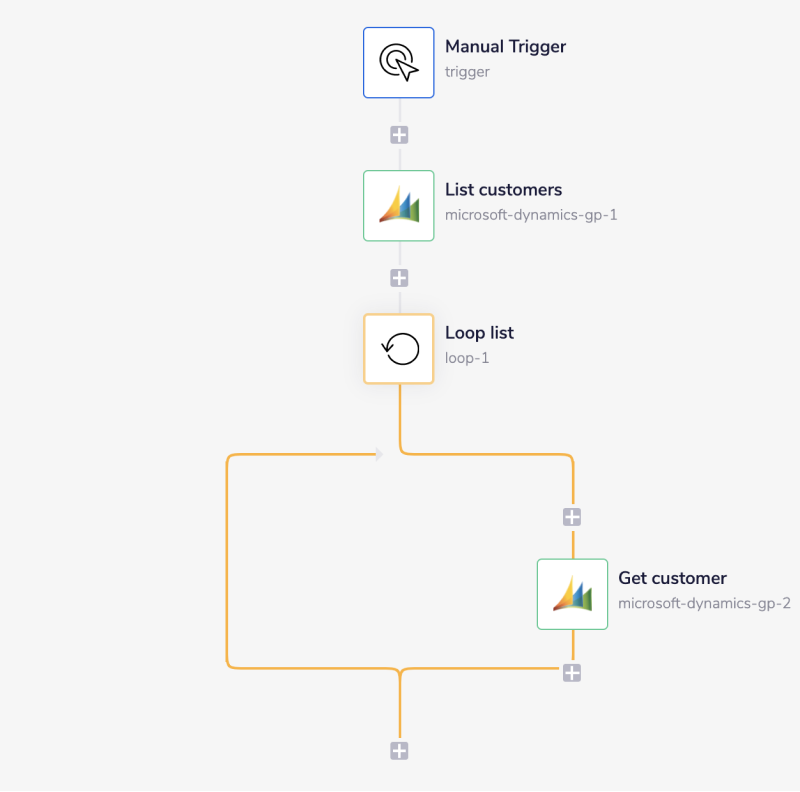
The steps will be as follows:
Create a new workflow using a manual trigger
Add a 'Microsoft Dynamics GP' connector step and set up the 'List customers' operation
Add a 'Loop Collection' connector step and set up the 'Loop list' operation to iterate through the list of customers
Add a 'Microsoft Dynamics GP' connector step and set up the 'Get customer' operation to retrieve the full data of each customer
The final outcome should look like this:

1 - Create new workflow using a manual triggerCopy
Once you have clicked 'Create new workflow' from your main Tray.io dashboard named it, select the Manual trigger from the trigger options available:

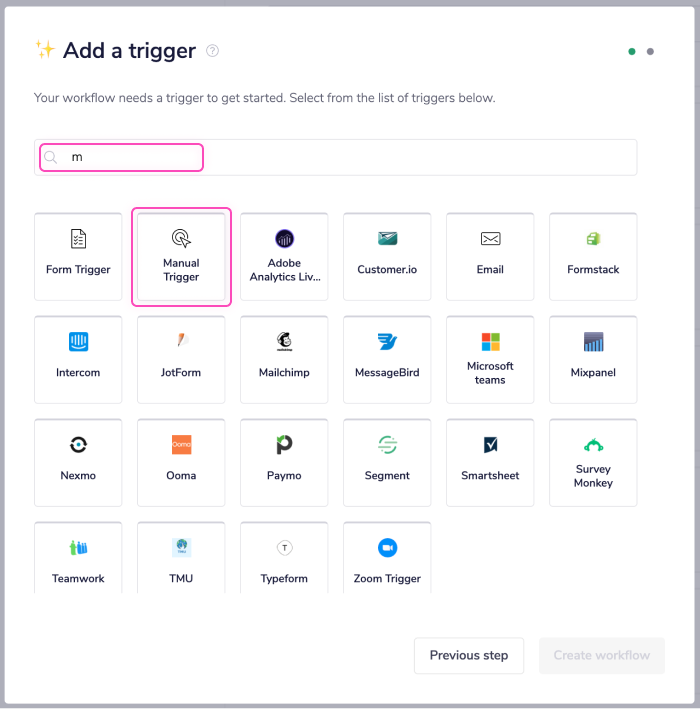
After clicking 'Create workflow' you will be redirected to the Tray.io workflow dashboard.
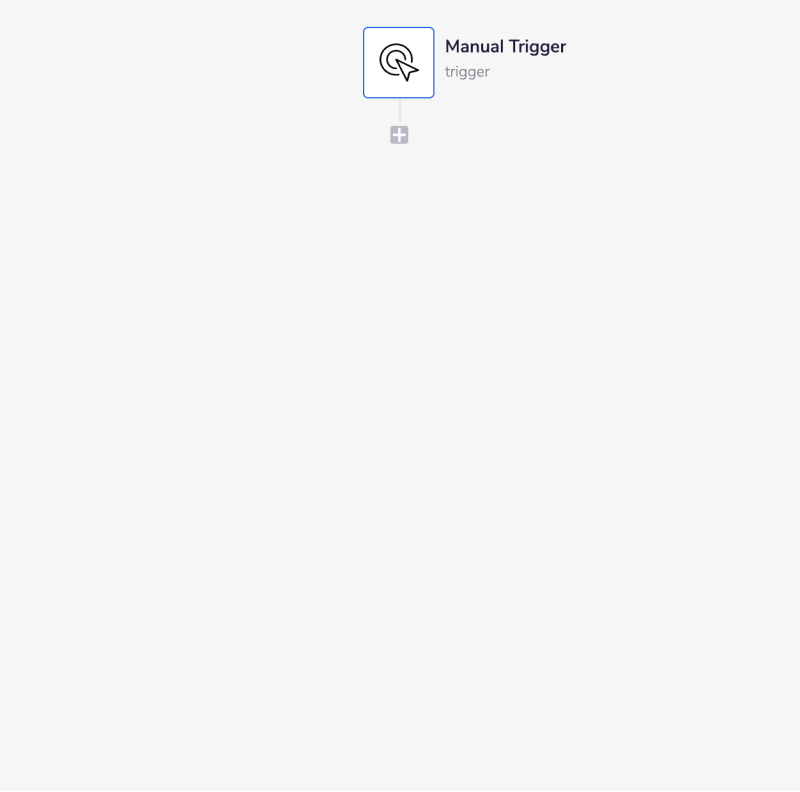
You are now ready to begin building your workflow.
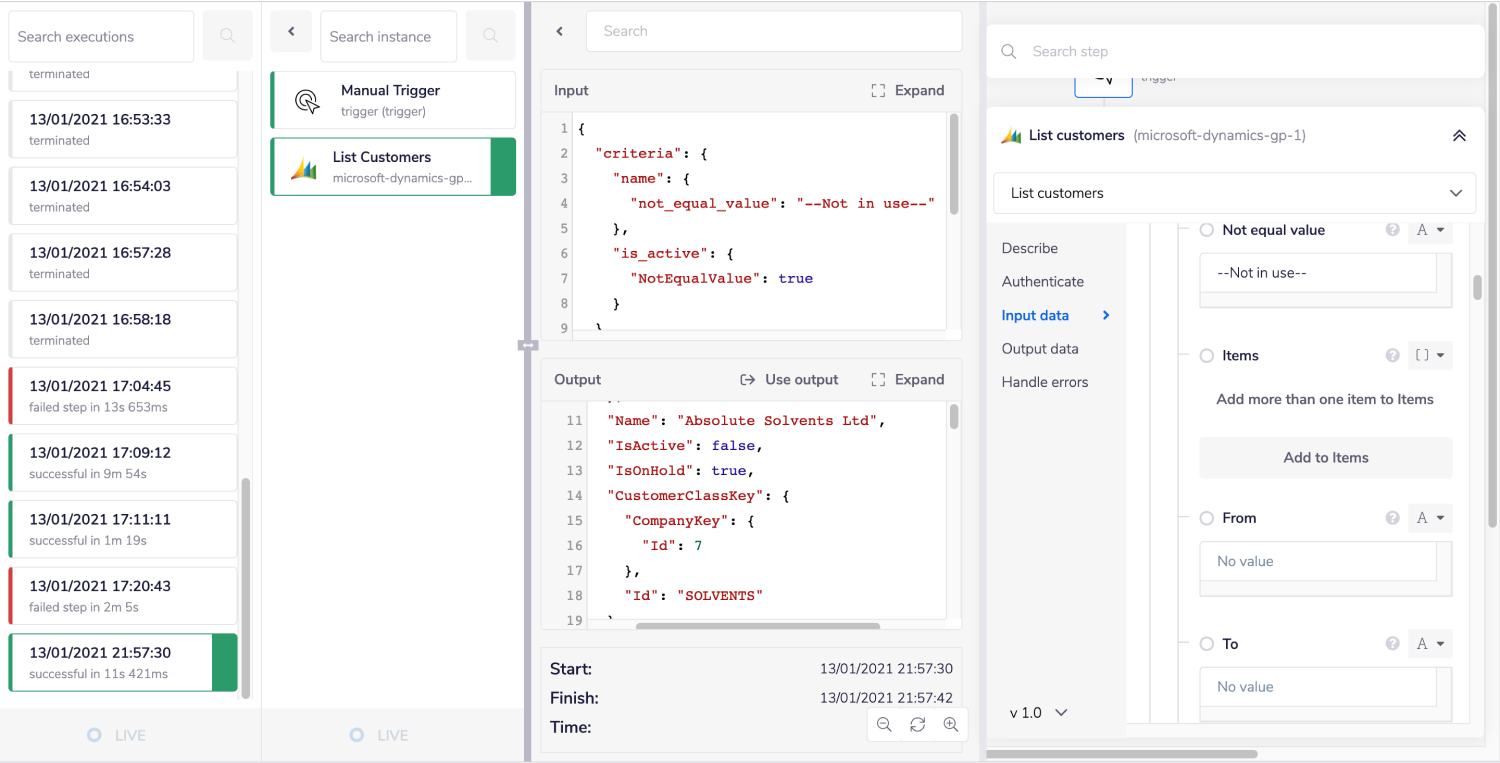
2 - Set up 'List customers' operationCopy
From the connectors panel on the left, add a 'Microsoft Dynamics GP' connector to your second step. Set the operation to 'List customers'.


A 'Context' is required, and has been defined as described above (see Context).
Feel free to rename your steps as you go along to make things clearer for yourself and other users.
This part is optional but some filter parameters have been applied to this List operation to reduce the number of results it returns.

3 - Set up 'Loop list' operationCopy
Next, search for the 'Loop Collection' connector within your connector panel, and drag it into your workflow as your next step. Set your operations to 'Loop list'.
The 'Loop Collection' connector allows you to iterate through a list of results. In this example, we will use it to iterate through the data found within the previous 'Microsoft Dynamics GP' connector step.
In order to specify the list you want to loop through, start by using the 'List' mapping icon (found next to the list input field, within the properties panel) to generate the connector-snake.
CONNECTOR-SNAKE: The simplest and easiest way to generate your jsonpaths is to use our feature called the Connector-snake. Please see the main page for more details.
While hovering over the 'List customer' step (with the tail end of the connector-snake), select the array of results CustomerSummary from the list of output properties displayed. This will auto-populate a jsonpath within your 'List' input field, and update the type selector to jsonpath.
JSONPATHS: For more information on what jsonpaths are and how to use jsonpaths with Tray.io, please see our pages on Basic data concepts and Mapping data between steps
For more clarification on the pathways you have available, open the Debug panel to view your step's Input and Output.


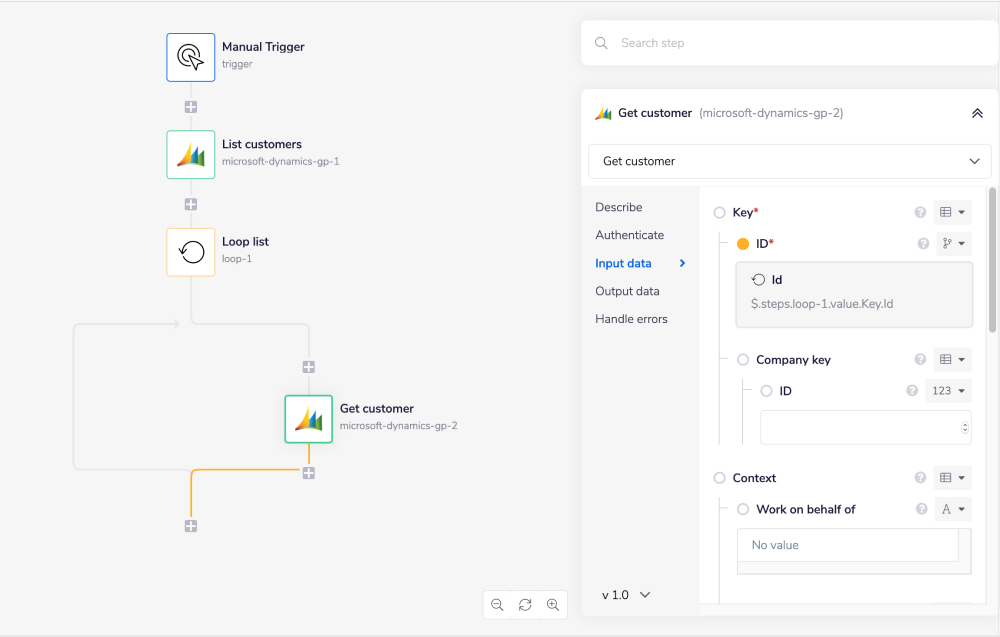
4 - Set up 'Get customer' operation to retrieve full data of each customerCopy
The last step is to drag a 'Microsoft Dynamics GP' connector inside of the 'Loop Collection' step itself. Set the operation to 'Get customer'. As you can see, within the 'Key' input the 'ID' field is required.
In order to specify this ID, start by using the 'ID' mapping icon (found next to the 'ID' input field, within the properties panel) to generate the connector-snake. While hovering over the 'Loop Collection' connector, select the Id within Key from the list of output properties displayed. This will auto-populate a jsonpath within the 'ID' input field, and update the type selector to jsonpath.
Running the workflow will loop through the collection of results returned by the 'List customers' operation, retrieve the full data of each result.


BEST PRACTICES: Whenever you do decide to create your own workflow, be sure to check out some of our key articles such as: