
GoToWebinar 3.0
Online meeting and web conferencing tool.
OverviewCopy
GoToMWebinar is a web-hosted service created and marketed by LogMeIn. It is an online video conferencing software that enables the user to meet with other computer users, customers,clients or colleagues via the Internet in real time.
AuthenticationCopy
When using the GoToWebinar connector, the first thing you will need to do is go to your Tray.io account page, and select the workflow you wish to work on. Once in the workflow builder itself, search and drag the GoToWebinar connector from the connectors panel (on the left hand side) onto your workflow.
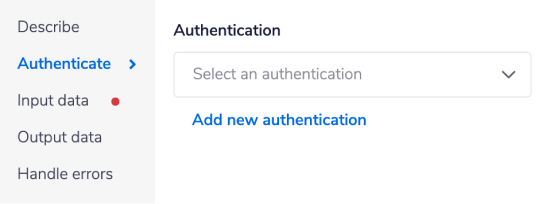
With the new GoToWebinar connector step highlighted, in the properties panel on the right, click on the ‘Authenticate’ panel followed by ‘Add new Authentication’ (located under the Authentication input field).

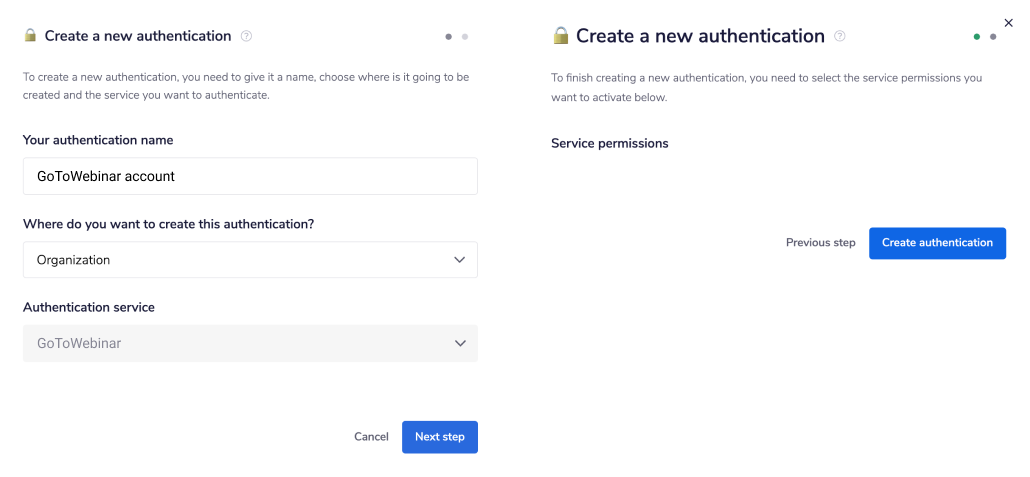
This will result in a Tray.io authentication pop-up window. The first page will ask you to name your authentication, and state which type of authentication you wish to create ('Personal' or 'Organisational').
As you can see, the next page asks you to click on the 'Create authentication' button.

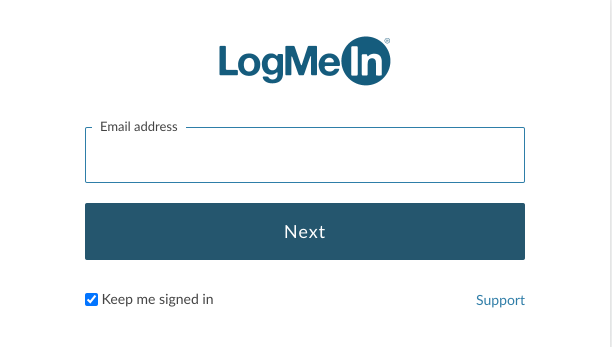
This will direct you to the the LogMeIn website and you would need your GoToWebinar 'Email address' and 'Password' to sign in.

Once you have added these fields, you will be redirected to the Tray platform. Go back to your settings authentication field (within the workflow builder properties panel), and select the recently added authentication from the dropdown options now available.
Your connector authentication setup should now be complete.
GoToWebinar TriggerCopy
If you wish your workflow to be kicked off by a particular action in GoToWebinar, you can use the GoToWebinar Trigger.
The GoToWebinar trigger allows you to receive notifications and trigger workflows when given events occur associated with the selected trigger operation.
Trigger Operations available:Copy
Webhook
Webhook SetupCopy
When creating a new workflow, click the 'Create new workflow' button in the top right hand corner of your main Tray.io dashboard. When the trigger popup window opens, search and select the GoToWebinar trigger. Wait to be redirected to your new workflow and the workflow dashboard itself.


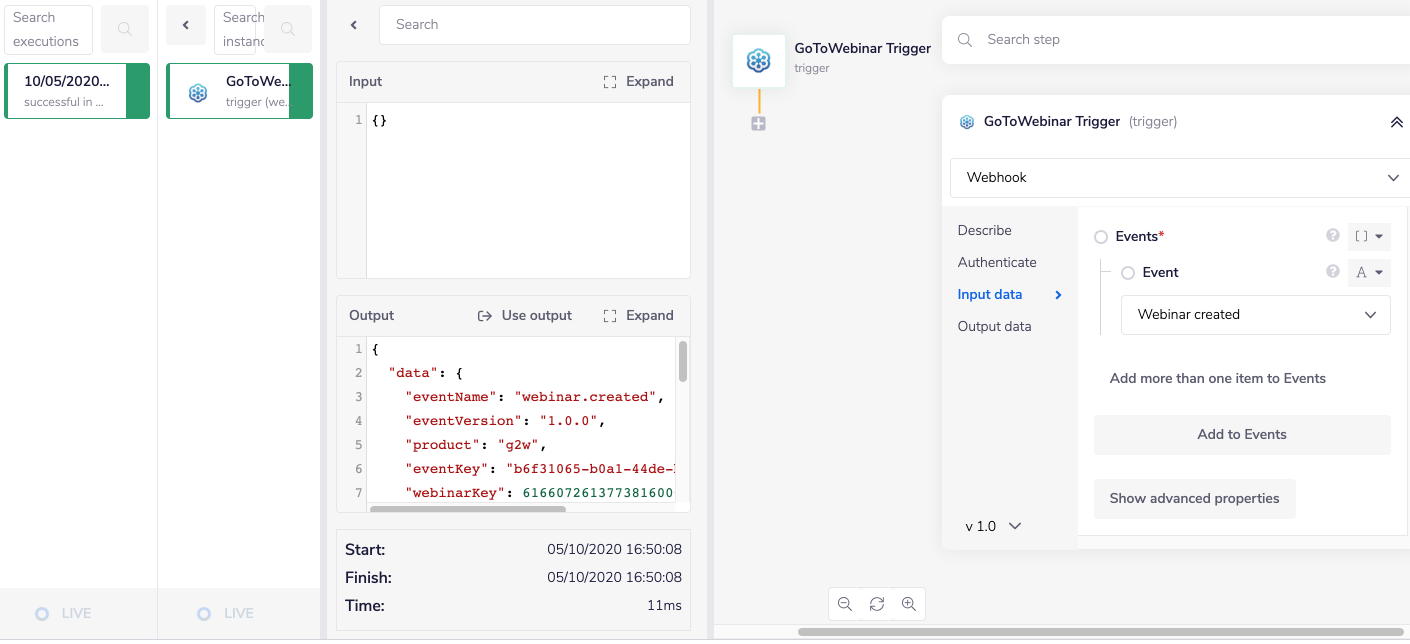
Follow the instructions explained above in the 'Authentication' section to authenticate your trigger, and select 'Webhook' as the event you want your trigger to listen to (aka the operation), in order to set off the workflow itself:


You now need to choose what action you want to trigger your workflow.
Under 'Events', click on the 'Add to Events' button. From within the new 'Event' dropdown menu.
The available event options are:
Registrant added: Organizer of webinar will receive this event, if a user registers for the webinar. This event will contain details about registrant.
Registrant joined: The organizer of webinar will receive this event if webinar registrant joins the webinar.
Webinar created: Organizer of the webinar will receive this event on creating a webinar.
Webinar chaned: Organizer of webinar will receive this event on updating a existing webinar.
Select an event to trigger your workflow. As an example choose the 'Webinar created' so that your workflow gets triggered whenever you create a webinar.
Go to the GoToWebinar website and log into your GoToWebinar account. Create a new webinar on clicking on the 'SCHEDULE' button.


Once you created an event in the GoToWebinar, and before testing your workflow, make sure you have clicked the 'Enable' button in the bottom-right corner of the builder screen.
You can check the result by opening the debug panel in your workflow:

Available OperationsCopy
The examples below show one or two of the available connector operations in use.
Please see the Full Operations Reference at the end of this page for details on all available operations for this connector.
Example UsageCopy
TRAY POTENTIAL: Tray.io is extremely flexible. By design there is no fixed way of working with it - you can pull whatever data you need from other services and work with it using our core and helper connectors. This demo which follows shows only one possible way of working with Tray.io and the GoToWebinar connector. Once you've finished working through this example please see our Introduction to working with data and jsonpaths page and Data Guide for more details.
Below is an example of a way in which you could potentially use the GoToWebinar connector, to list the registrants of your all your webinars for a specified time duration.
The steps will be as follows:
Setup using a manual trigger and list your webinars.
Going through each webinar.
List all of the registrants of each webinar.
The final outcome should look like this:

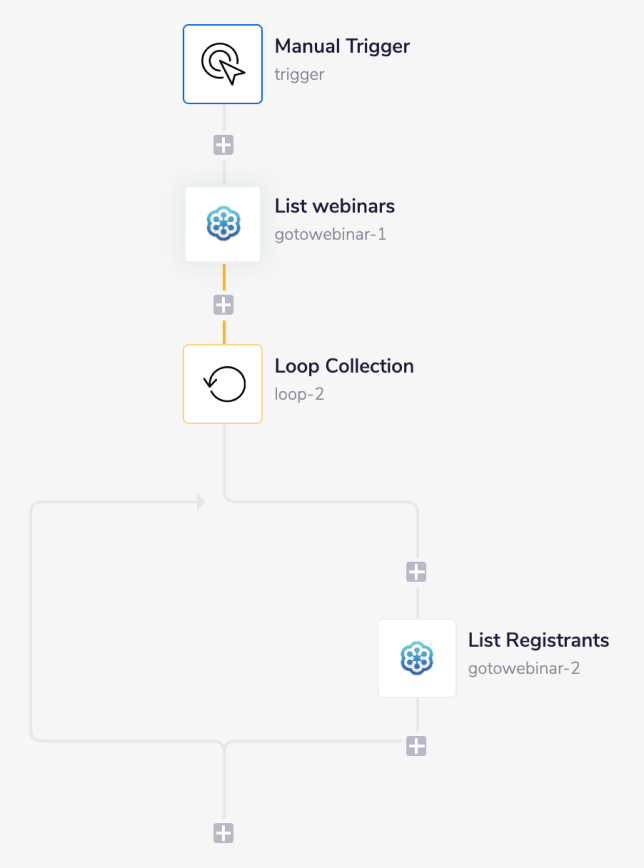
1 - Setup Trigger & List All WebinarsCopy
Once you have clicked 'Create new workflow' from your main Tray.io dashboard named it, select the Manual trigger from the trigger options available:


After you have been redirected to the Tray.io workflow dashboard, from the connectors panel on the left, add a GoToMWebinar connector to your second step. Set the operation to 'List Webinars'. Choose the dates for the webinars that have been created. For example choosing a 1 month period will show you events that have been created for that month.

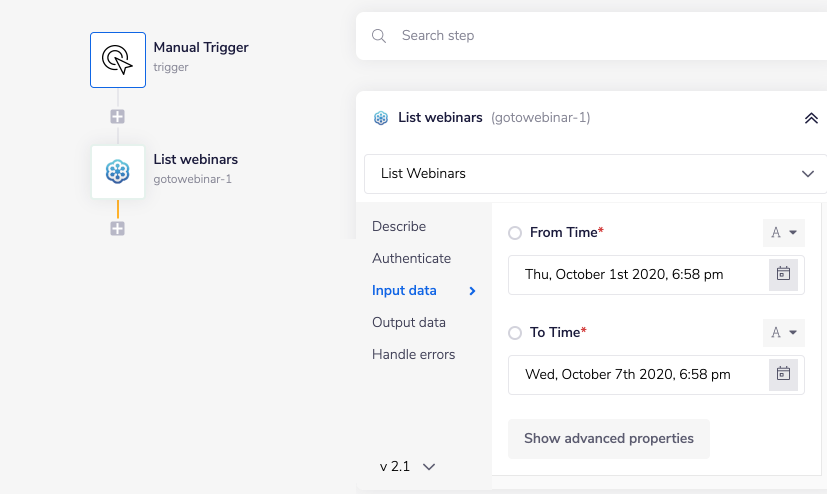
Feel free to re-name your steps as you go along to make things clearer for yourself and other users.
2 - Add Loop CollectionCopy
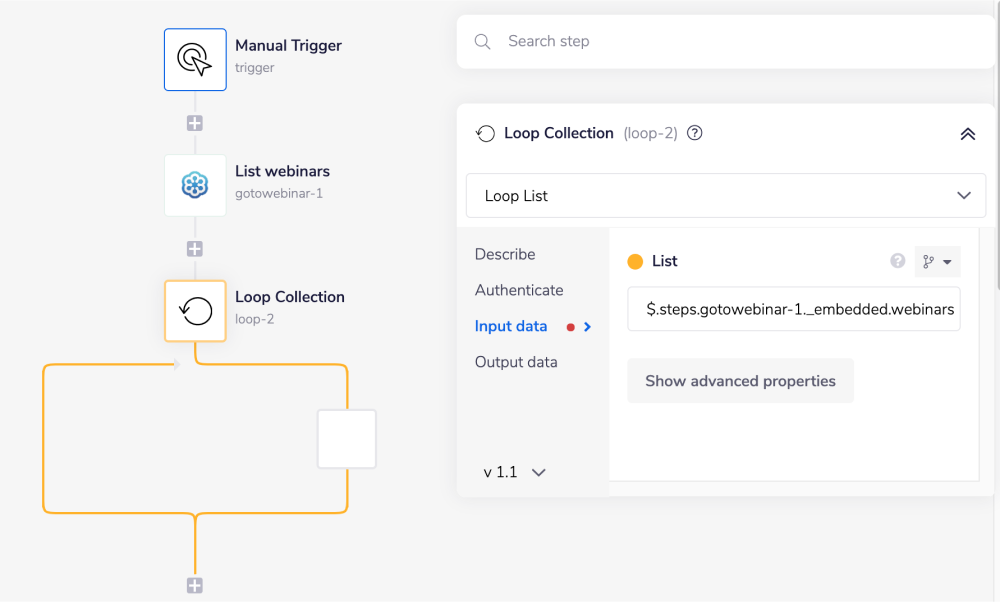
Next, search for the 'Loop collection' connector within your connector panel, and drag it into your workflow as your next step. Set your operations to 'Loop list'.
The Loop Collection connector allows you to iterate through a list of results. In this example, we will use it to iterate through the data found within the previous GoToWebinar connector step.
In order to specify the list you want to loop through, start by using the 'List' mapping icon (found next to the list input field, within the properties panel) to generate the connector-snake.
While hovering over the 'List Webinars' step (with the tail end of the connector-snake), select
webinars from the list of output properties displayed. This will auto-populate a jsonpath within
your 'List' input field, and update the type selector to jsonpath.
For more clarification on the pathways you have available, open the Debug panel to view your step's Input and Output.
JSONPATHS: For more information on what jsonpaths are and how to use jsonpaths with Tray.io, please see our pages on Basic data concepts and Mapping data between steps
CONNECTOR-SNAKE: The simplest and easiest way to generate your jsonpaths is to use our feature called the Connector-snake. Please see the main page for more details.

This will allow you to go through each webinar.
3 - List All Registrants In Each WebinarCopy
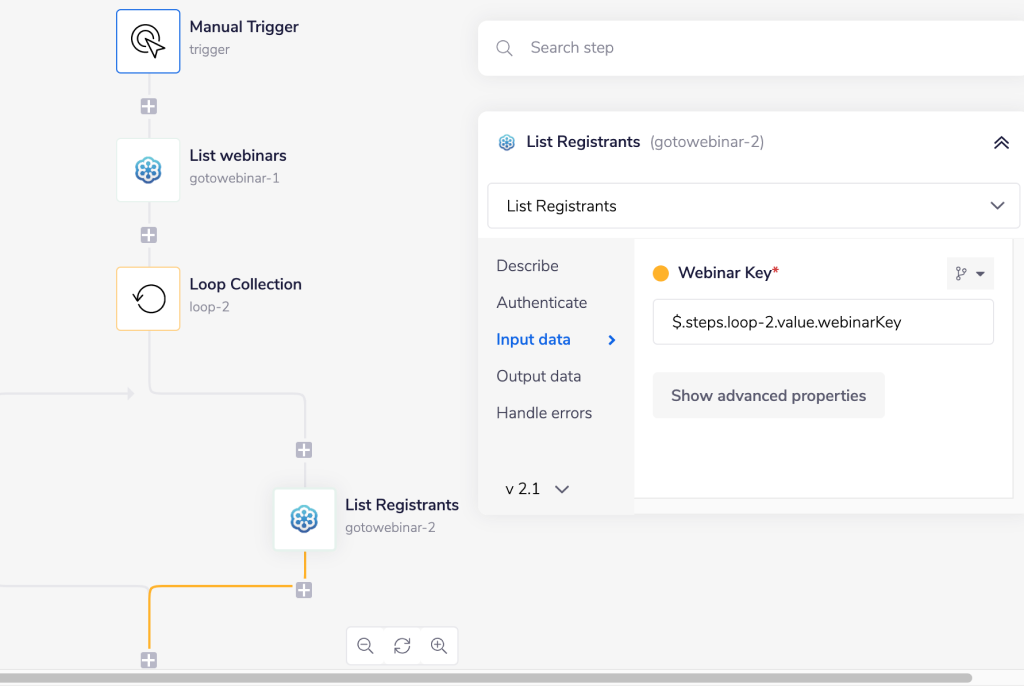
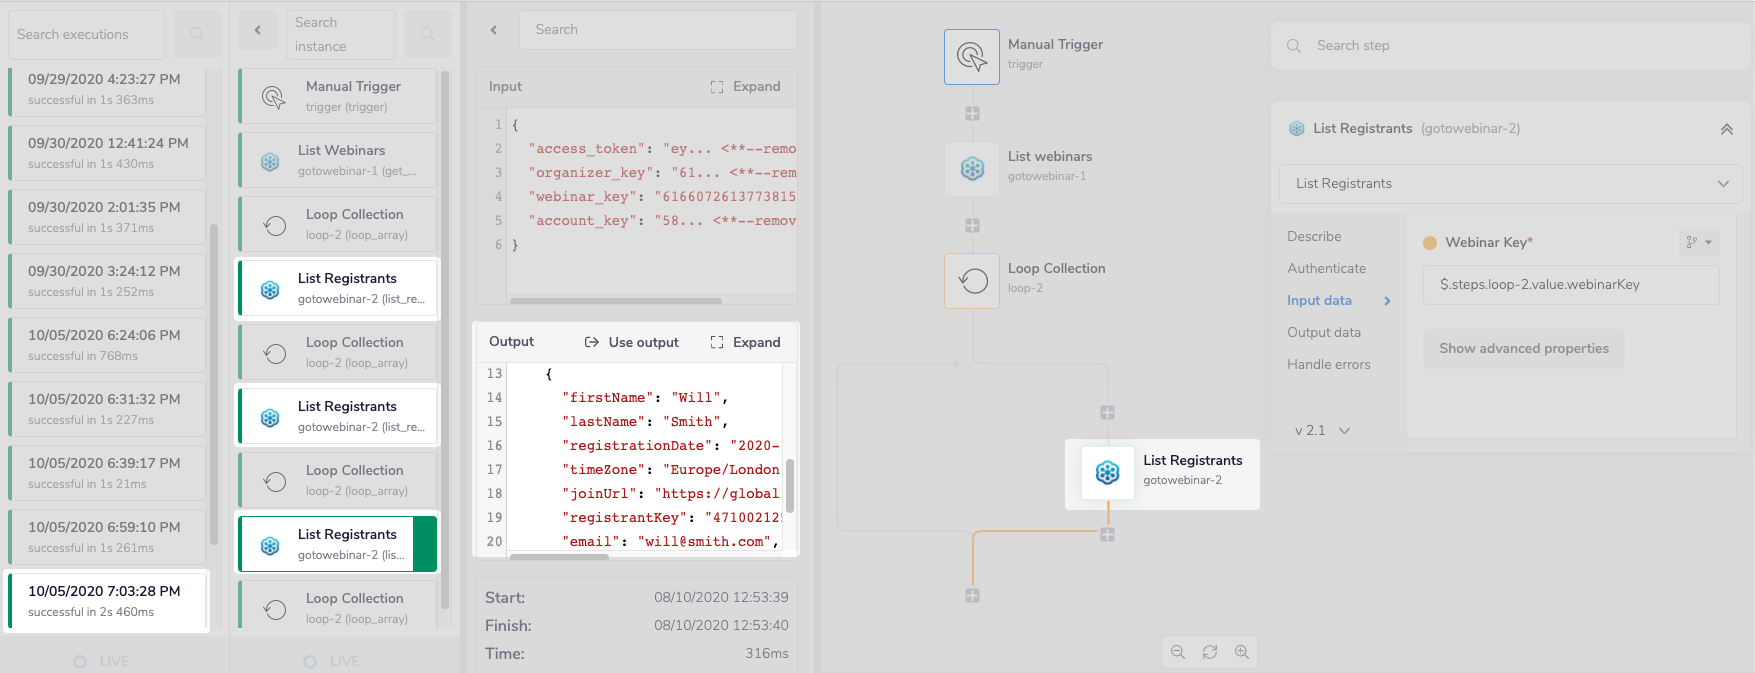
The last step is to drag a GoToWebinar connector inside of the Loop Collection step itself. Set the operation to 'List Registrants'. As you can see, the 'Webinar Key' field is required.
Now, In order to specify the webinar you want to get the registrants from, start by using the 'Webinar Key' mapping icon to generate the connector-snake.
While hovering over the 'Loop Collection' step (with the tail end of the connector-snake), select
value from the list of output properties displayed. This will auto-populate a jsonpath within
your 'Webinar Key' input field, and update the type selector to jsonpath. Now manually add webinarKey to the generated jsonpath by typing fullstop followed by 'webinarKey' like: .webinarKey.
USER TIP: If you're unsure about the name of the key, in this case 'webinarKey', you can go to the 'List Webinars' step and investigate the name of the keys on the 'Output data' found in the properties panel.

By running the workflow and going to the 'Debug' panel, you will be able to see the result. The 'Loop Collection' will result in running the last step for all of the number of webinars you have and the 'List Registrants' step will list all of the registrants in each webinar.

BEST PRACTICES: Whenever you do decide to create your own workflow, be sure to check out some of our key articles such as: