
Chargebee 1.1
A leading subscription billing software powering end-to-end recurring billing, subscription management & auto invoicing
OverviewCopy
Chargebee is the subscription billing and revenue management platform that lets you solve for your today, and scale for your tomorrow.
AuthenticationCopy
After adding a Chargebee connector, click to add a new authentication:


You will then be presented with the auth dialog:

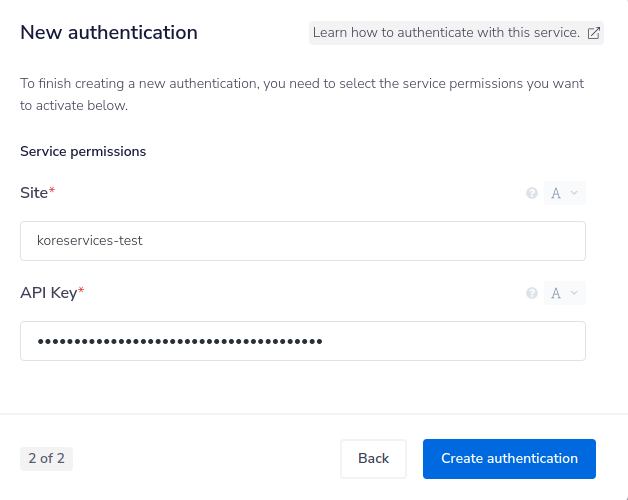
When entering your domain be sure to remove the 'https://' prefix and the 'chargebee.com' suffix.
So if your domain is https://koreservices-test.chargebee.com you should enter 'koreservices-test'
Your API key is obtained by going to Configure Chargebee > API Keys and Webhooks in the Chargebee admin UI:


Setting up a WebhookCopy
In Chargebee it is possible to set up a webhook in order to automatically notify a Tray workflow when events occur in Chargebee.
To do this, create a new workflow in Tray with a Webhook Trigger:


In your workflow click to enable it.
Then go to 'Workflow settings' in the top-left of the builder.
From here you can copy the 'Workflow public URL':


And then create a new Webhook in Chargebee using the Workflow public URL:


Note that you can also choose which events to send.
You can then test your webhook URL:


In your Tray workflow debug panel you will then see a test webhook payload coming through (don't forget your workflow needs to be enables otherwise it won't work!):


From here you can then use jsonpaths such as $.steps.trigger.body.content.customer.id and $.steps.trigger.body.content.customer.email to grab individual pieces of data from the webhook and pass into other connectors.
For more information please see our Intro to jsonpaths and working with data and jsonpaths