XLSX Helper 2.0
The XLSX Helper is a collection of helpers to extract data from XLSX files
OverviewCopy
The XLSX Helper currently includes the ability to extract data from an XLSX file. Extracted text data can then be used in conjunction with other connectors, such as the CSV writer. This helper is extremely useful when outputted data from your XLSX file ends up in one column. The example below will walk you through how to use this connector when confronted with data in a single column.
Example usageCopy
Get data from a columnCopy
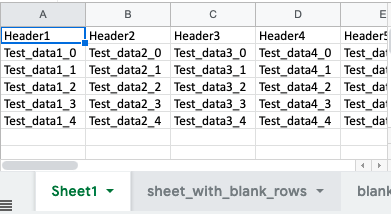
When trying to create a CSV from data stored in an XLSX file the data can come sometimes come out all in one column as it did in our example. The input data for this example looks like this:


This is a step by step tutorial on how you can extract that data from an XLSX column. We will also turn that data into a CSV file using the CSV editor so that the data can be used like any other CSV.
In this example, we'll be getting our data from an XLSX file that was uploaded to a web form.
This is assuming that the data within the XLSX column is already formatted as CSV data. If the data in the XLSX column is formatted like a normal spreadsheet, please use the "Convert XLSX to CSV" operation in the XLSX Helpers.
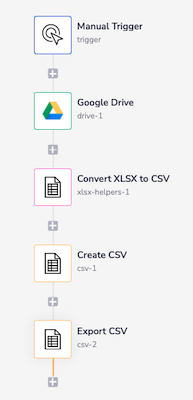
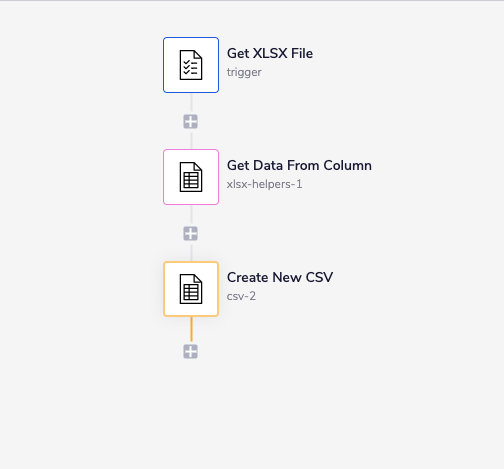
This is what our entire workflow looks like:

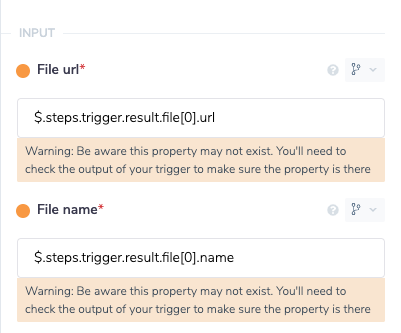
1 - Enter file URLCopy
Enter the file URL in the File URL field of the XLSX Helper. In our case, our file will be coming from the Webform Trigger, so we can use a JSON path to get that file name. Alternatively, you could input the file URL and use basic auth. This would depend on where your file location.

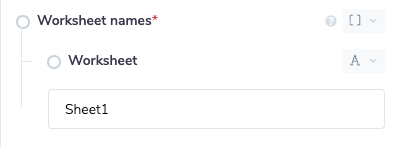
2 - Choose worksheetsCopy
Enter the worksheets to be processed. The worksheet names need to be entered exactly as they appear in the spreadsheet editor. In our example the only sheet we have is called 'Sheet1'. Please be aware that this name is case sensitive.

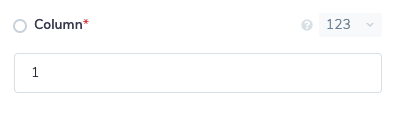
3 - Choose a columnCopy
The column is specified using a number. The leftmost/first column would be 1, the second column would be 2 and so on. Please note that only one column can be selected per operation. In this example all of our data is in column 1 so we will use that.

4 - Output overviewCopy
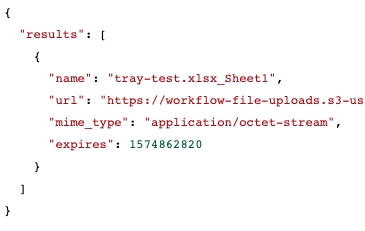
The output will appear as a list of file items. Currently, files created will be text files containing all data from a column.
Each item will have a URL which can be used to access the created file containing data from the specified column. Each file item will correspond to a worksheet within the XLSX file. Each item will have the name specified with an underscore and the name of the worksheet appended.

5 - Processing outputCopy
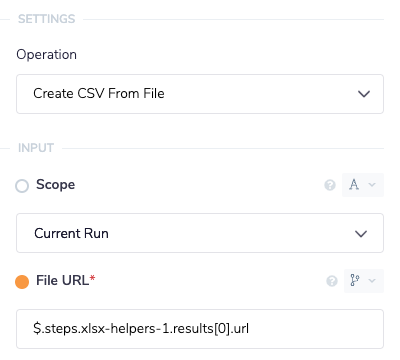
Use the CSV editor and the Create CSV From File operation to create a CSV file from the output of the XLSX Helper. This newly created CSV can now be used anywhere in the workflow.

The output of the Create CSV From File operation will look like this:

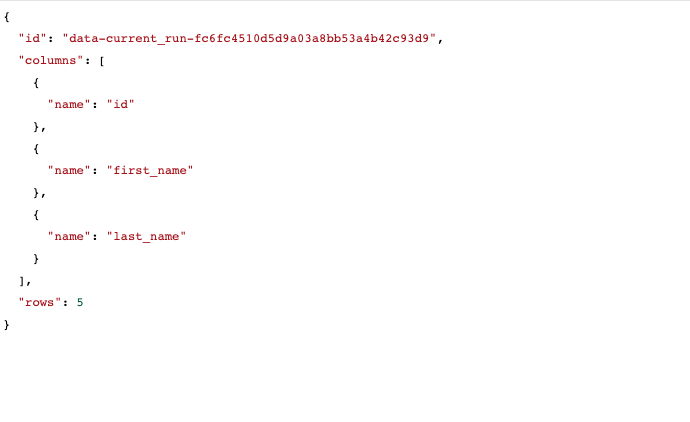
As you can see we now have properly separated columns with 5 rows of data that can now be used like any other CSV.
Convert XLSX to CSVCopy
This operation allows you to convert an XLSX file into one or more CSV files (one CSV file per worksheet).
The main inputs into this operation are specifying which worksheets to convert to CSV and how those CSVs are formatted e.g. whether they are delimited by commas or tabs.
For this example we are going to use an XLSX file where we want to convert just the one worksheet; 'Sheet1'.

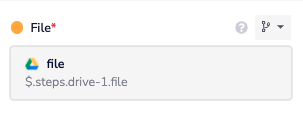
1 - Specify a Tray file objectCopy
A file object points to a file that has been imported using another connector or trigger, such as the form trigger or Google Drive connector.
This file object can be entered directly into the input field 'File'.

2 - Choose worksheetsCopy
The next step is to specify the worksheet names to convert to CSV. In this case we just want to convert 'Sheet1'.
Please note: this field can be left unpopulated to convert ALL worksheets to CSV.
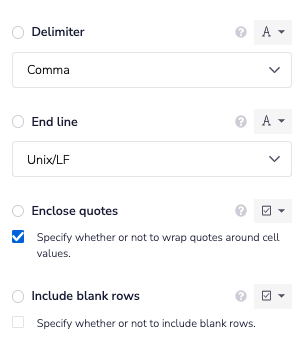
3 - Choose CSV settingsCopy
The output CSVs need to be configured next. These inputs are; delimiter, end line character, enclose quotes boolean and include blank rows boolean.
In this case we just want to create a standard CSV file delimited by commas and with the end line character as a '/n', or 'line feed' character. This is common on most non-windows platforms. Windows would use a combination of two characters for the end line. These are '/r/n', or a 'carriage return' followed by a 'line feed' character.
We also want to wrap values in quotes (this will be standard double quotes '"'). We do not want to include blank rows in the CSV file so we have left this unchecked.

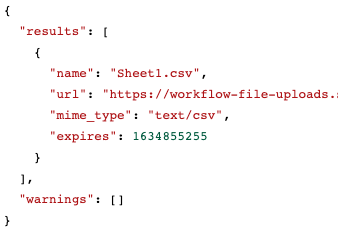
4 - Output overviewCopy
The output from this operation will be a list of CSV file objects.
Since we specified only one worksheet name only one file has been generated.

An example workflow would look like the one below.