Maximizing HubSpot Forms


Ben Ray
Enterprise Architect
Learn how you can extend the power of Hubspot Forms to the rest of your tech stack to quickly target your best leads.
HubSpot forms provide a powerful interface to create forms to collect lead data. These forms sync seamlessly with HubSpot and by integrating them into your entire tech stack you can make the most of HubSpot forms for your organization.
As an IT manager, you can port incoming tickets into a project management system (such as Jira, Wrike, Monday.com, or Asana) for faster, hassle-free service. If you work in marketing or sales, you can use HubSpot Forms to manage leads within your CRM or marketing automation software (such as Salesforce, Marketo, or others). Or, if you work in customer support, you can add feedback from your latest customer survey directly into your helpdesk or CX Platform (such as Zendesk, SurveyMonkey) to decrease response times and boost retention rates. For more automation inspiration, check out our live group demo where we highlight new use cases every week.
In this post, I will show you how you can easily send form fill data to the rest of your stack to improve data freshness and accuracy.
Setting up your workflow in the Tray Platform
To get started, log into the Tray Platform app. We have a preconfigured template for HubSpot Form entries in our Template Library, or you can build your own webhook-triggered workflow from scratch if you prefer. If you're ready to install the template, click here to import this template to your account.
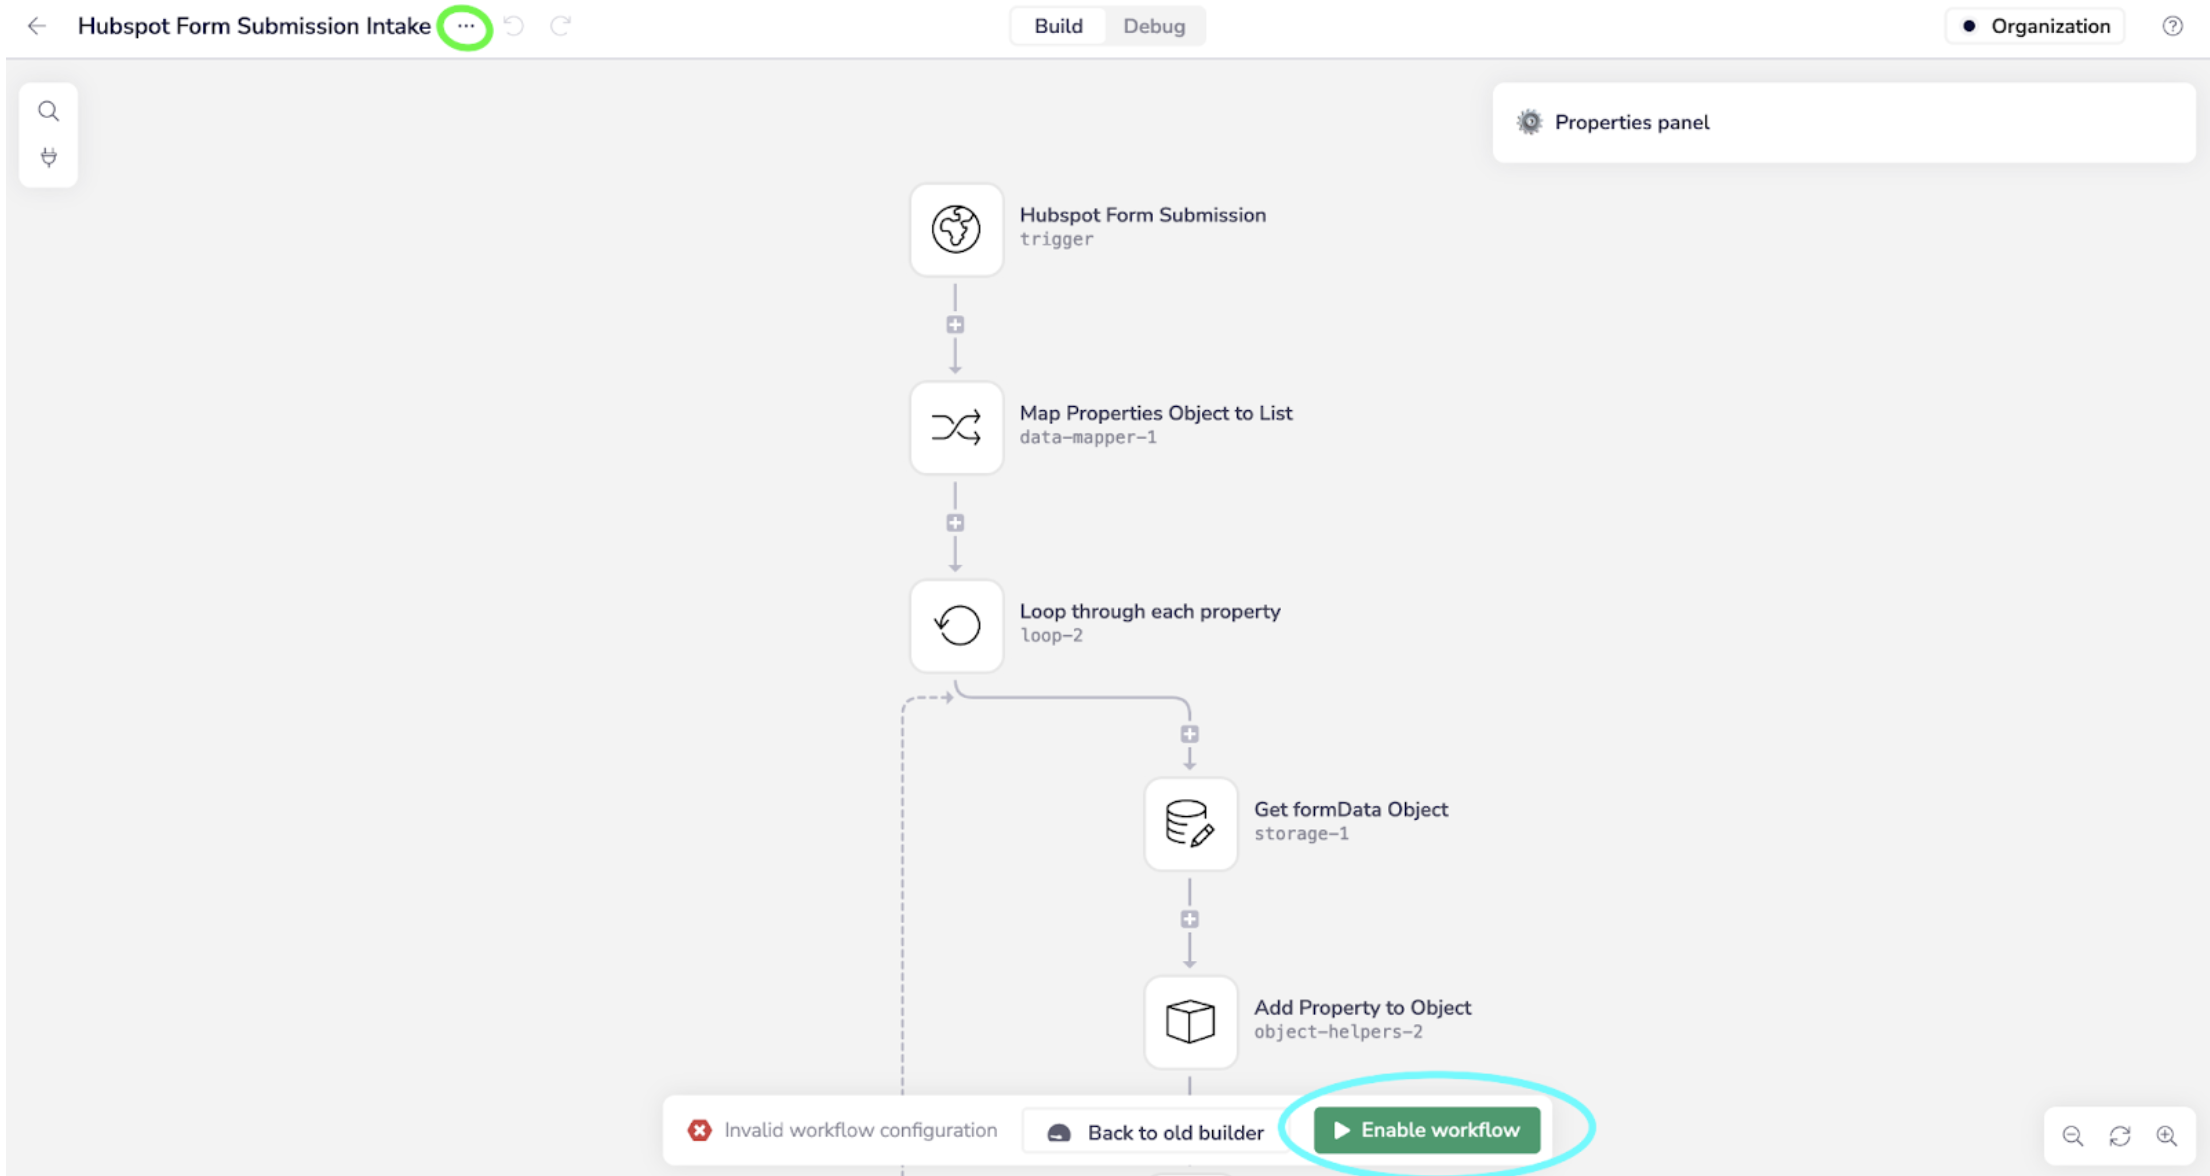
Once you have opened your new workflow, click the green Enable workflow button at the bottom of your screen (circled in light blue in the below image) and then navigate to the Settings at the top left by using the "..." button (highlighted in light green in the below image), and then clicking on Settings. Once you are in Settings, you will see a Workflow public URL field with a URL in it. This is what you are going to take into HubSpot and configure to receive form fill data. Next, copy the URL into your clipboard or a text editor.
Now you can take this URL and connect it to a HubSpot Form. If you do not have a form that you would like to use already, you can set up a new form following this HubSpot guide.
Next, create a new workflow inside of HubSpot to push form fills to Tray. Navigate to the Workflows Section within HubSpot and create a new workflow by clicking Create Workflow > Blank Workflow and then Next. You should now see a screen similar to the below:
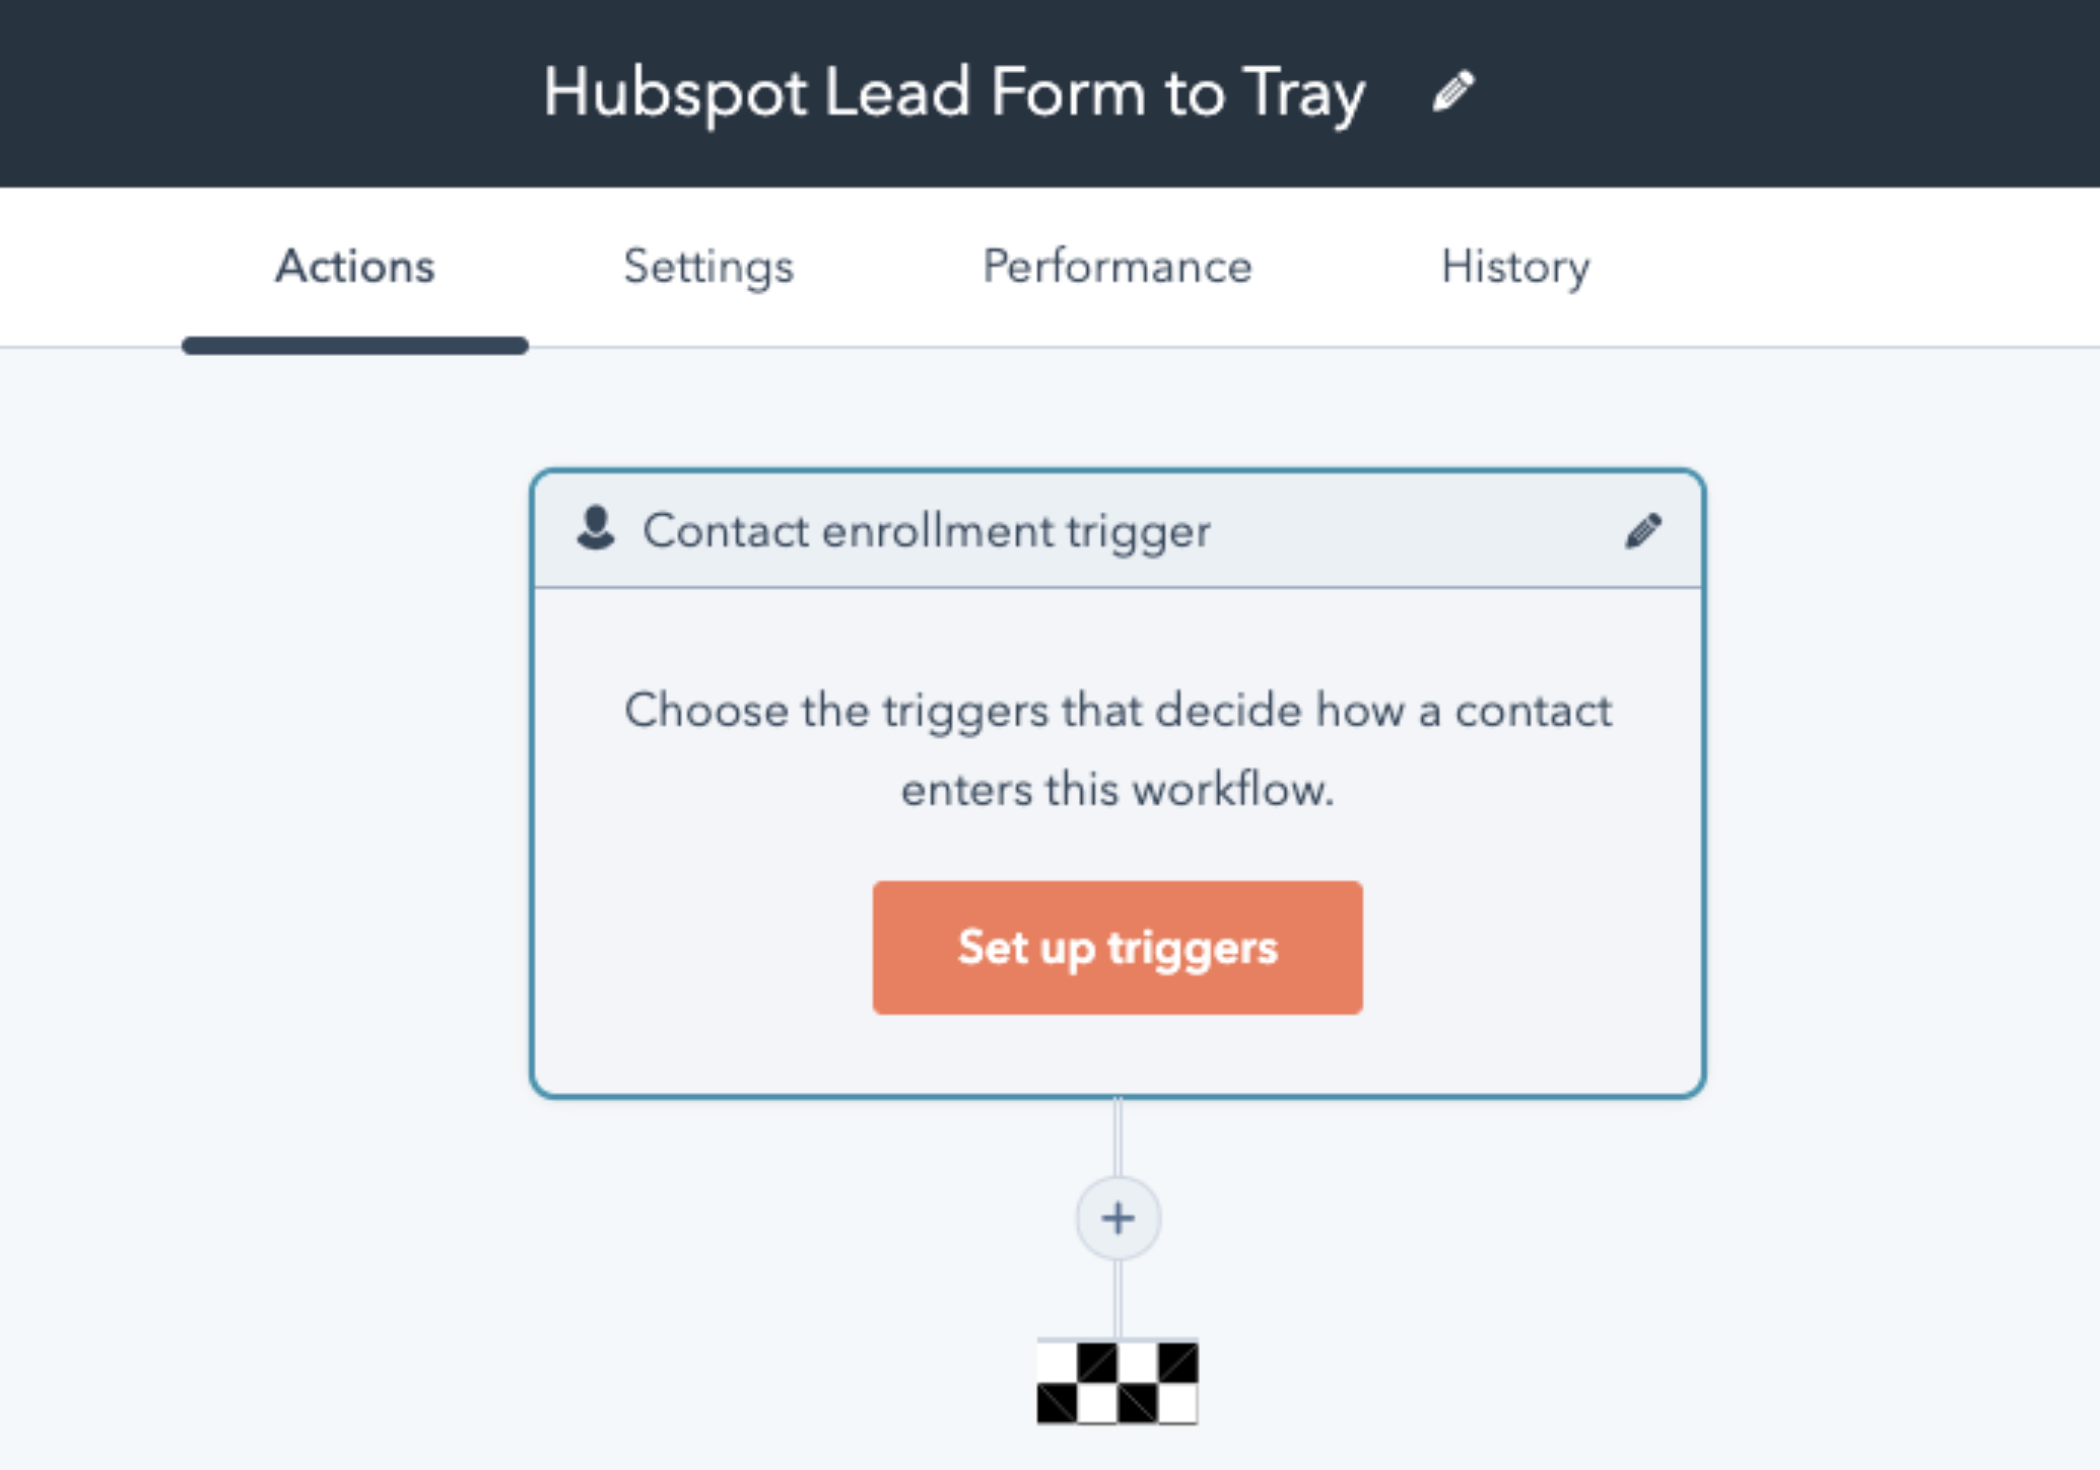
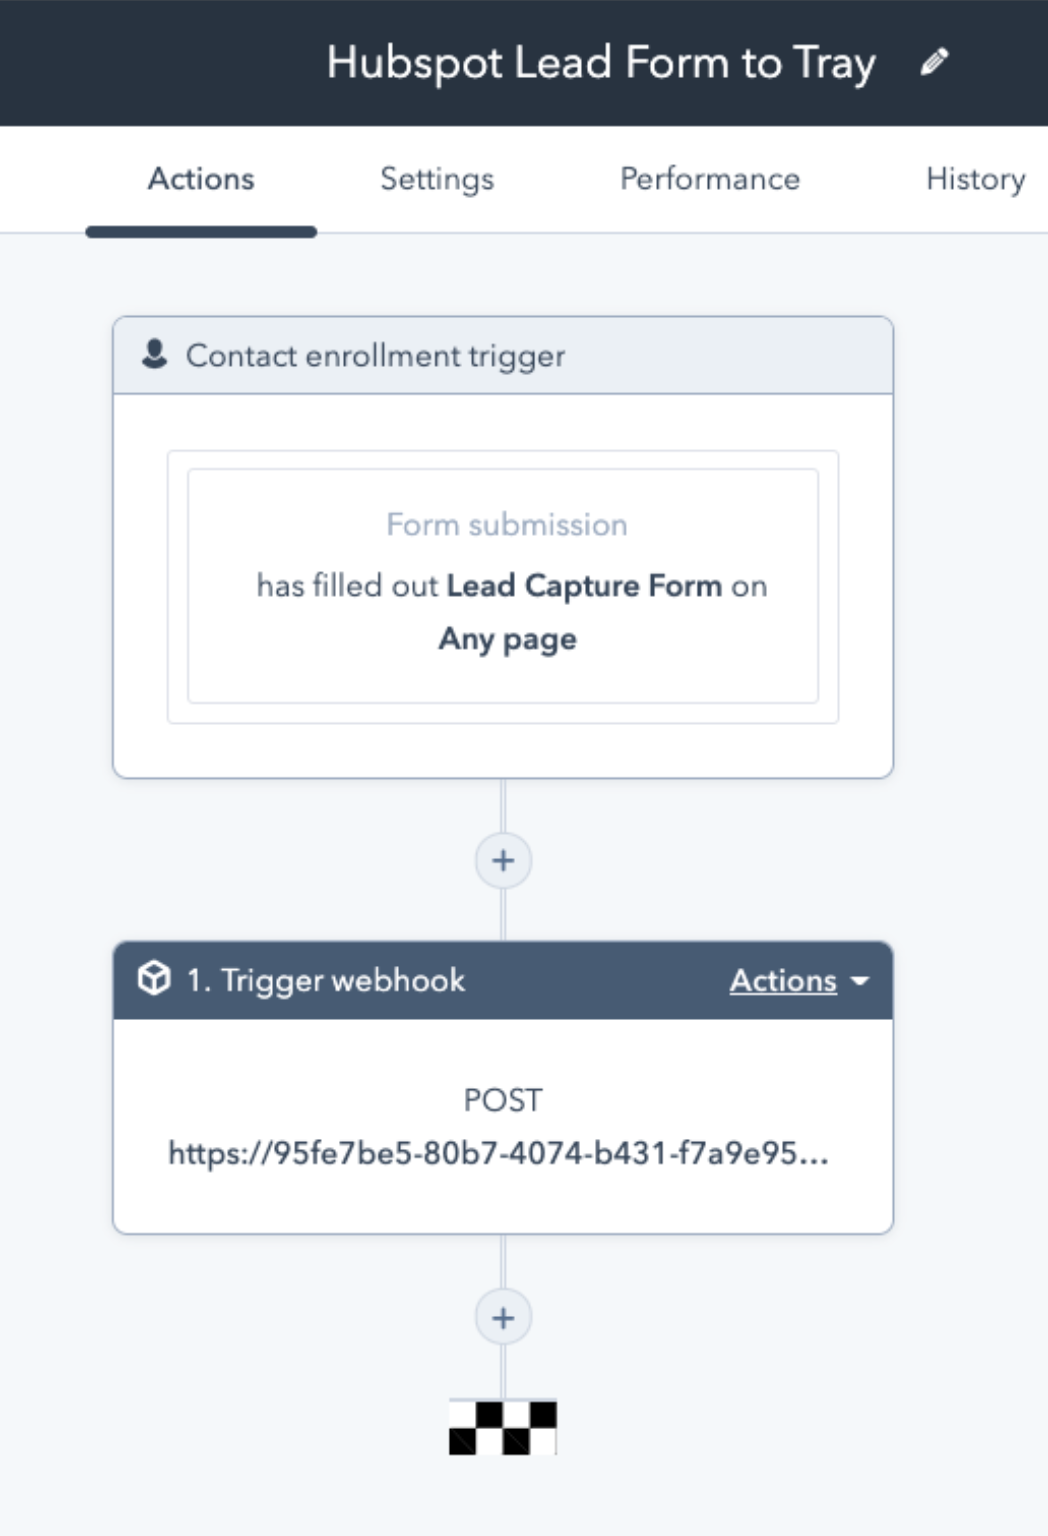
From here, click Set up triggers and click Form Submissions and select the form you wish to use. Selecting a form will open a HubSpot workflow that you will use to call the Tray Platform. Click the + button to add a new step in the HubSpot Workflow. Then search for Webhook and click Trigger webhook in the actions menu. You should see something like this:
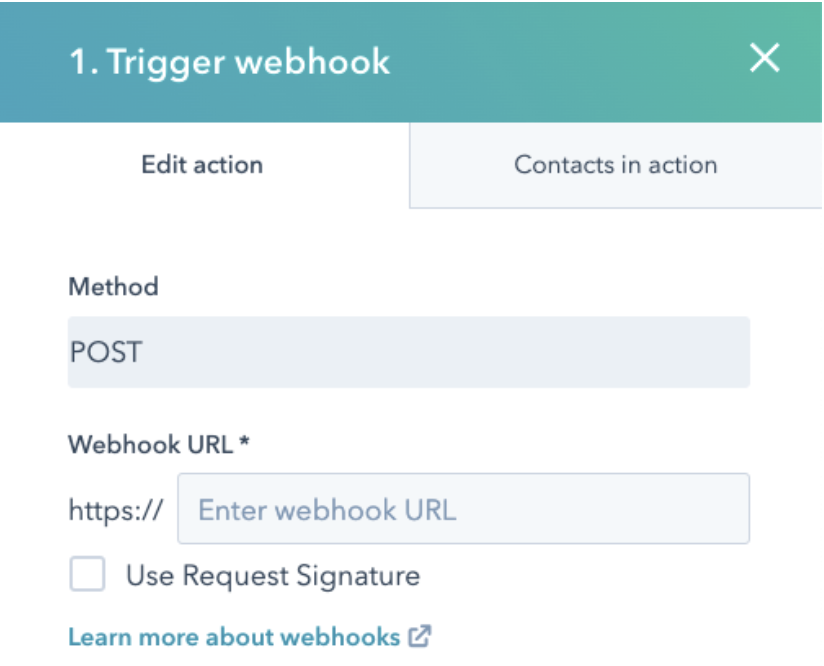
This is where you can paste the URL you generated in the Tray Platform. HubSpot prefills the "https://" section, so you can remove that from your URL once you paste it. Then, click Save. Your HubSpot Workflow, with your URL, should look like the below image:
We're almost there! Click the Review and Publish Button and choose whether you wish to enroll existing contacts or only future contacts, then click Turn on.
Next, it’s time to test! Open up the HubSpot Form that you are using, fill it out, and click Submit. Back in the Tray Platform, you should be able to see a log of that form fill by clicking Debug at the top. Click on that execution and you will see all the steps in the workflow that have run.
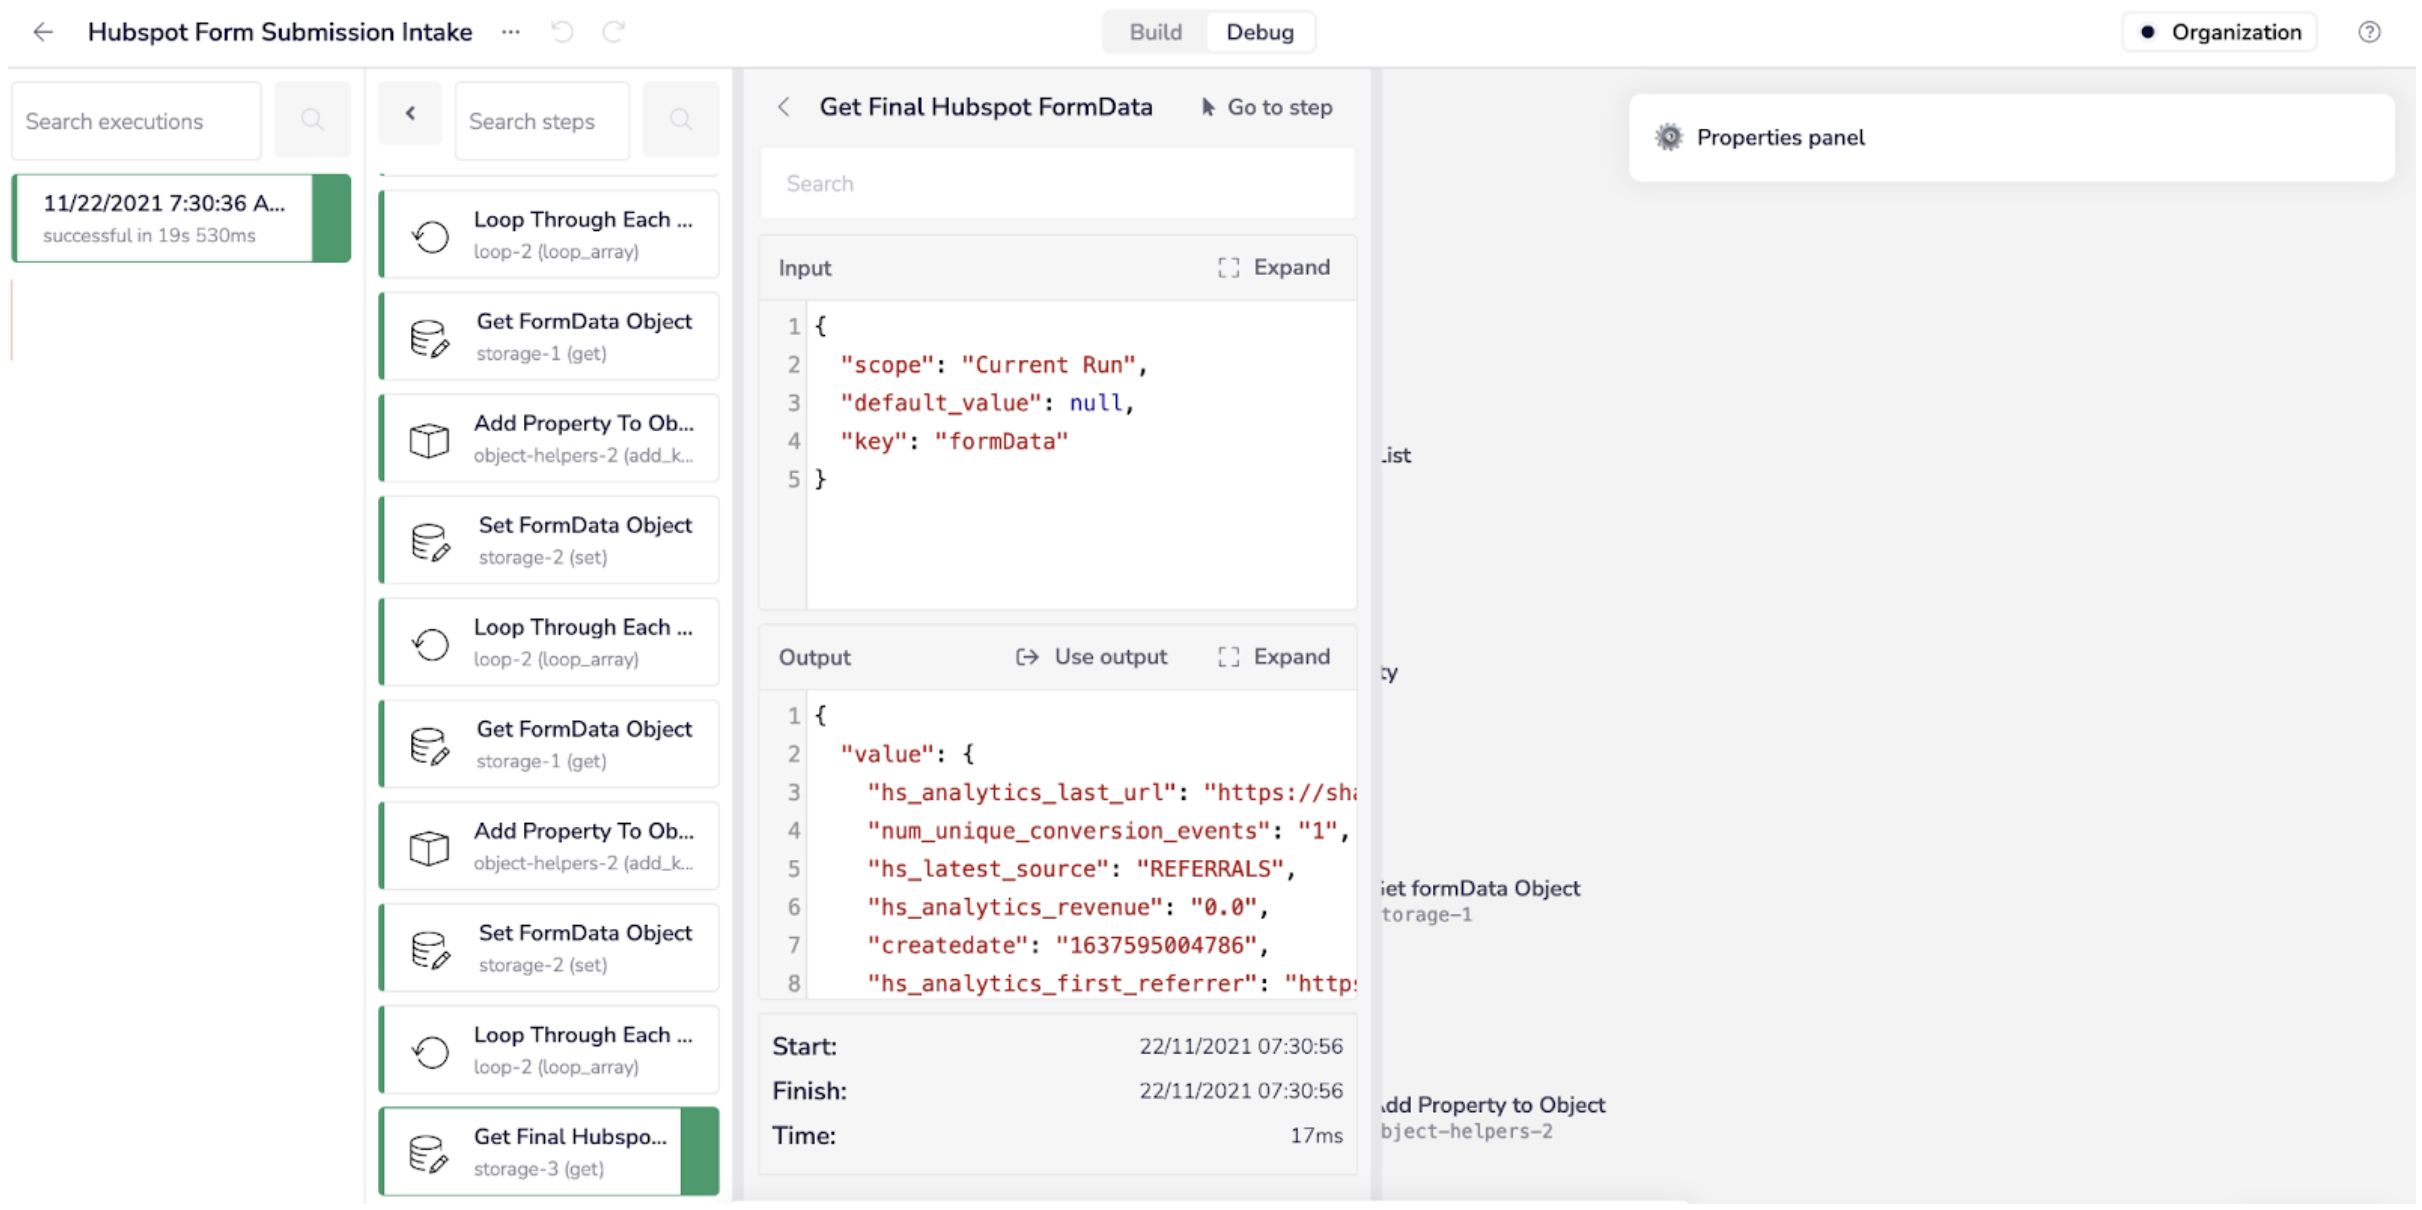
Click the final successful step near the bottom of the log and take a look at the output data. You will see the form fill data, as well as some additional information from HubSpot, that you can send to any downstream system.
We have pre-configured this template with a suggested Salesforce Create/Update Lead connector. We can utilize whatever form data identifies a lead, if that is the intent. In order to connect output data from the Get Final HubSpot FormData step, first, click the Use output button shown in the debug log. Then, you can use the connector snake in the Salesforce step to fill out inputs with any of this data. You will need to configure an authentication to whichever downstream system you are using, and can add additional logic as needed to accomplish your goals (you could even create objects in multiple systems from a form fill).
Integrate and automate data from Forms
You’ve just unlocked the potential for countless efficiency-boosting processes by connecting HubSpot Forms data with your tech stack.
Of course, you could avoid all the extra steps and just use the Tray Platform’s form trigger, but if you’ve already got a HubSpot Form set up the way you like, the process we just covered is a great alternative!